Featured
-

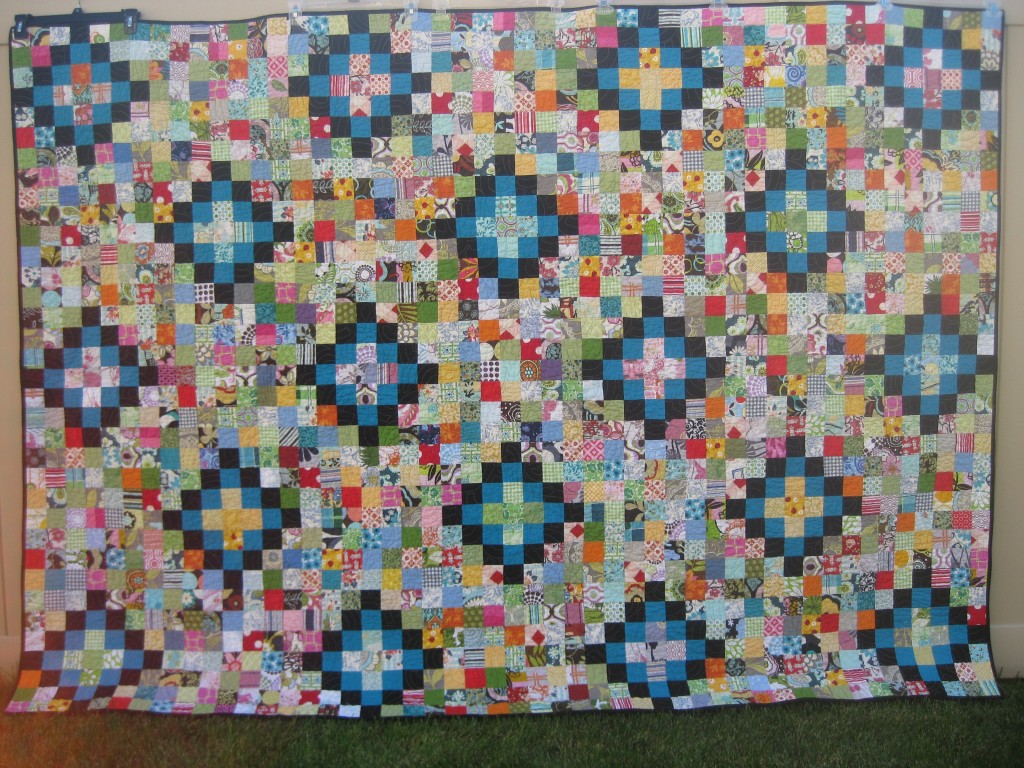
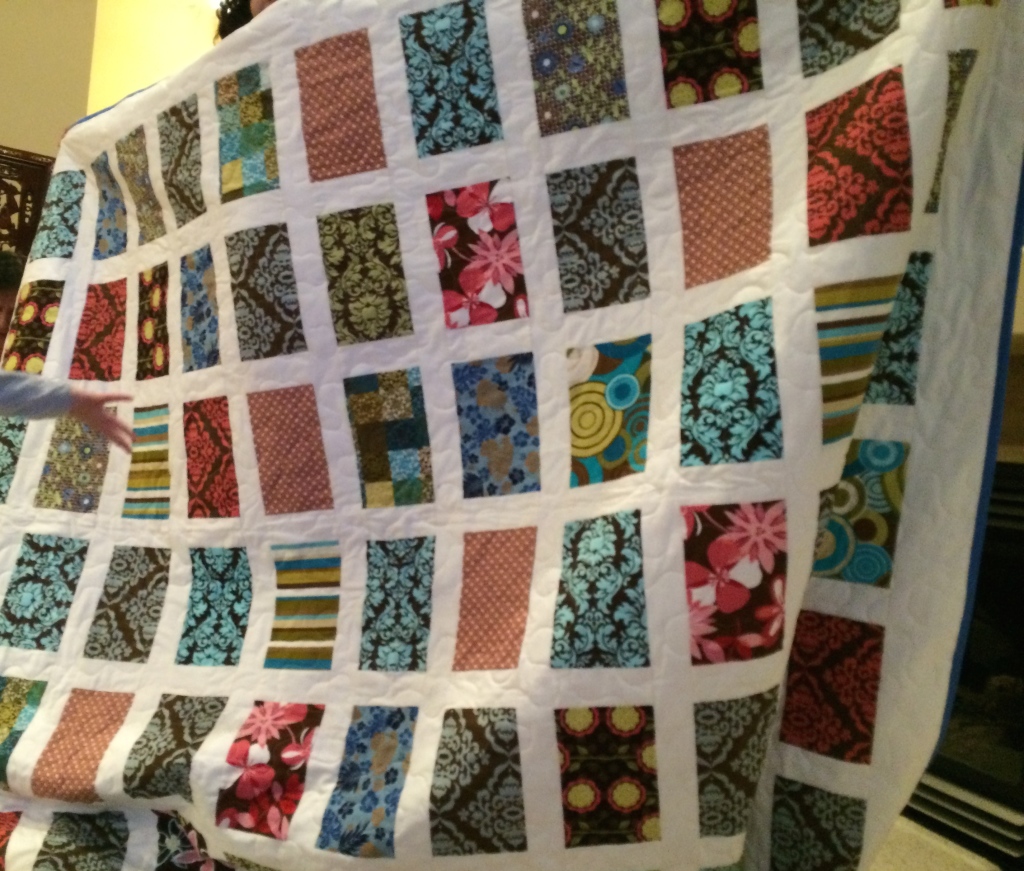
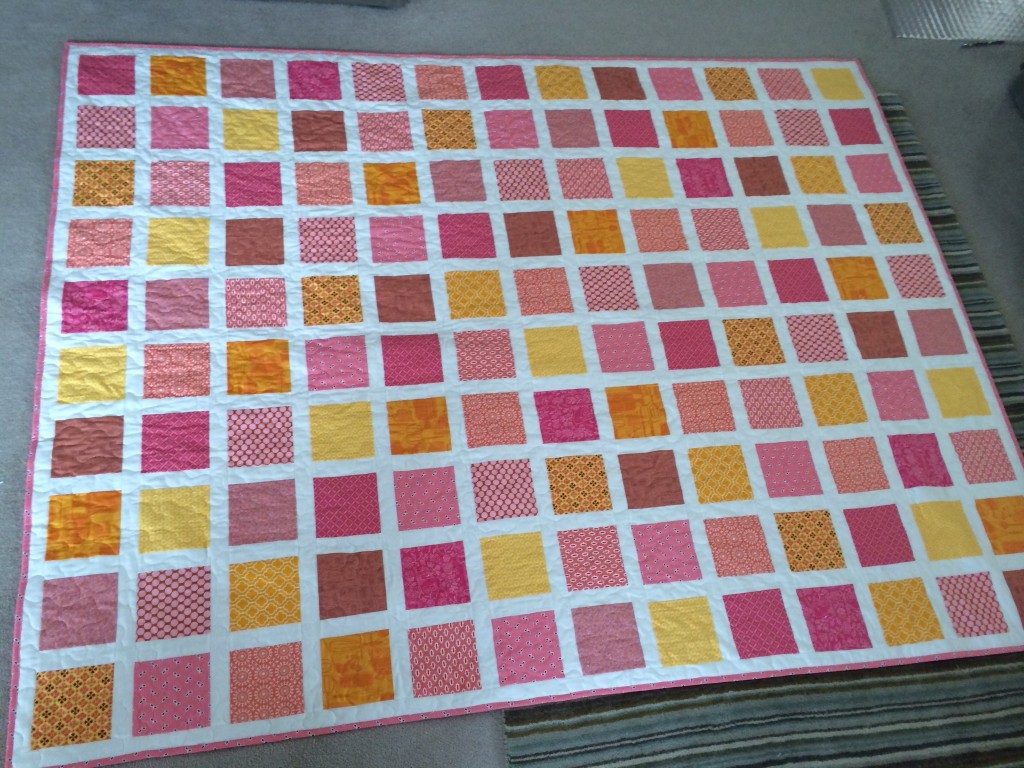
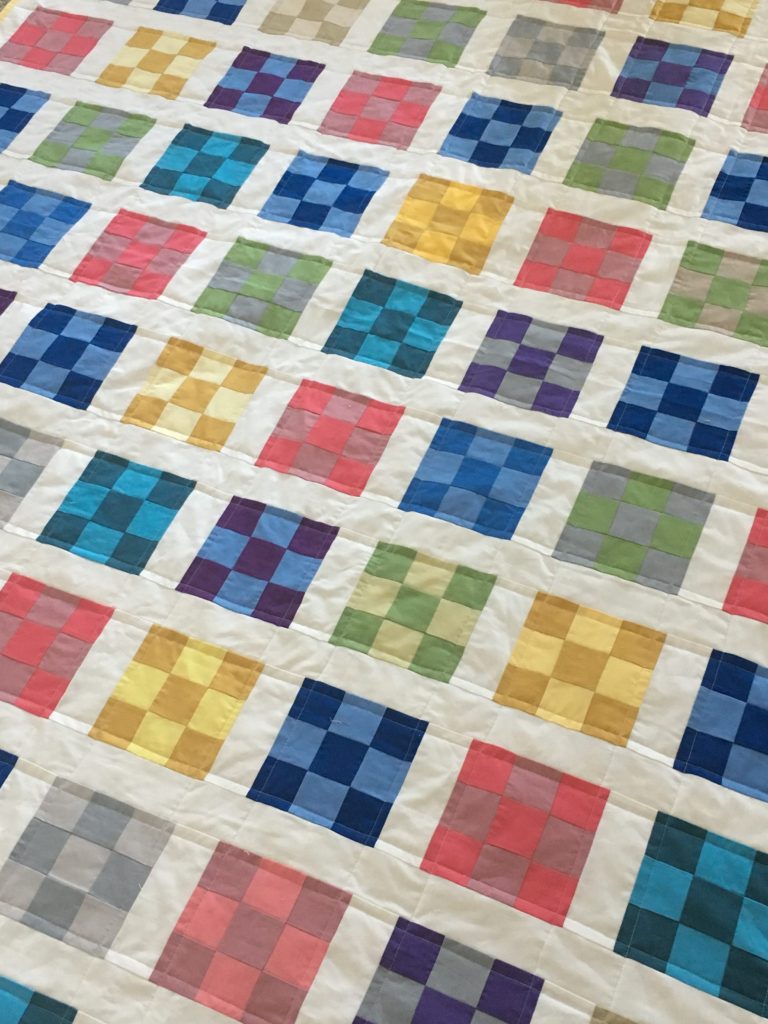
Stash-busting Tile Quilt and Tutorial(136)
As you know, I can’t name quilts. I just ...continue -
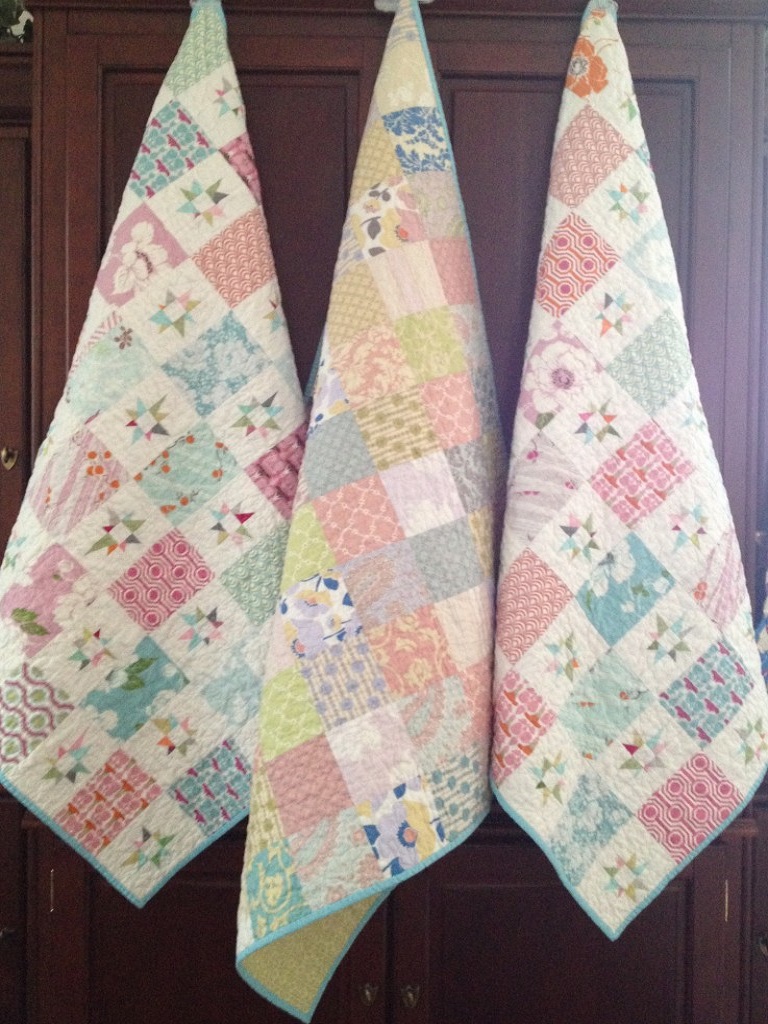
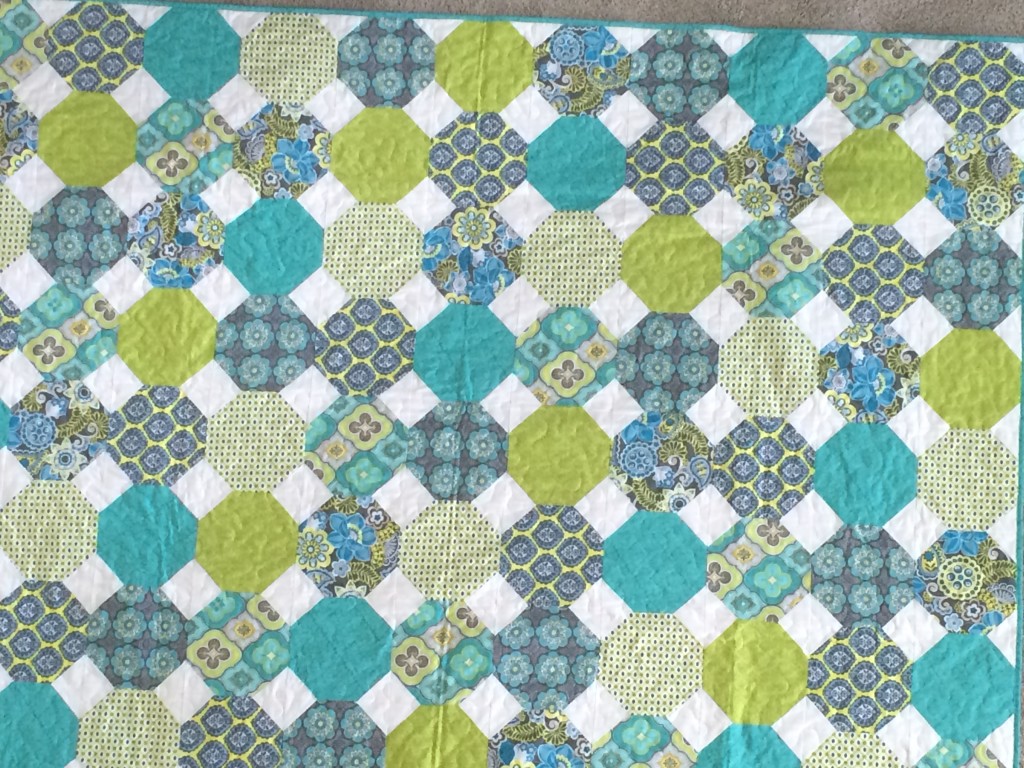
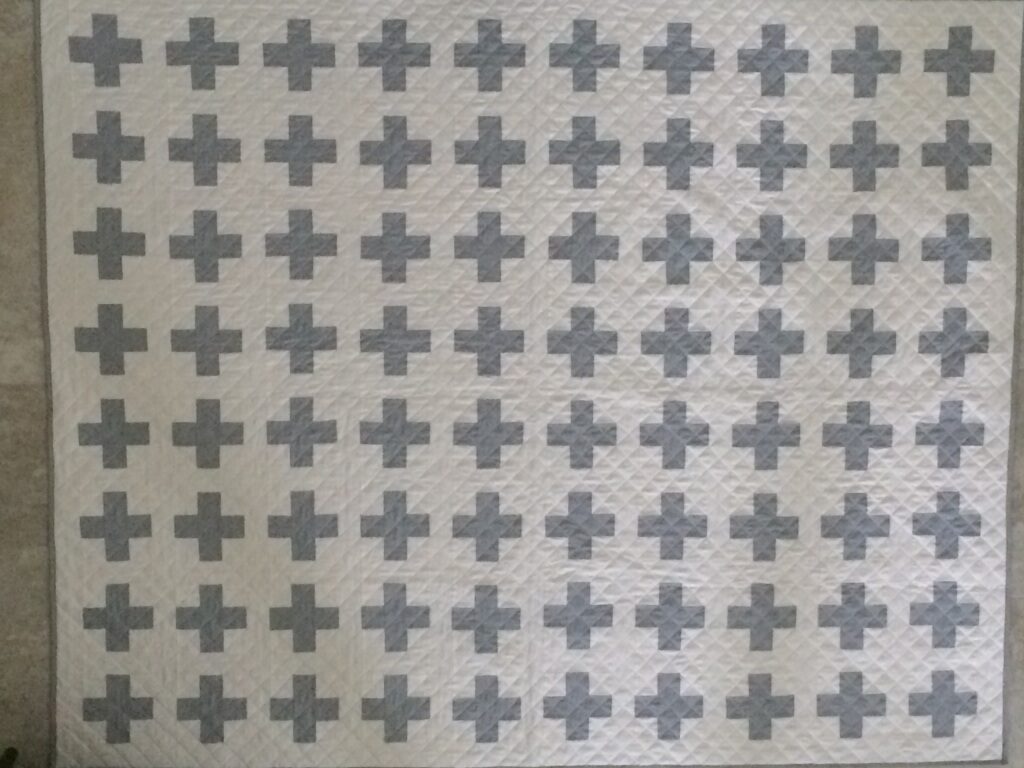
“I finally made a snowball quilt” quilt (150)
I’m pretty sure the first quilt block that ...continue -
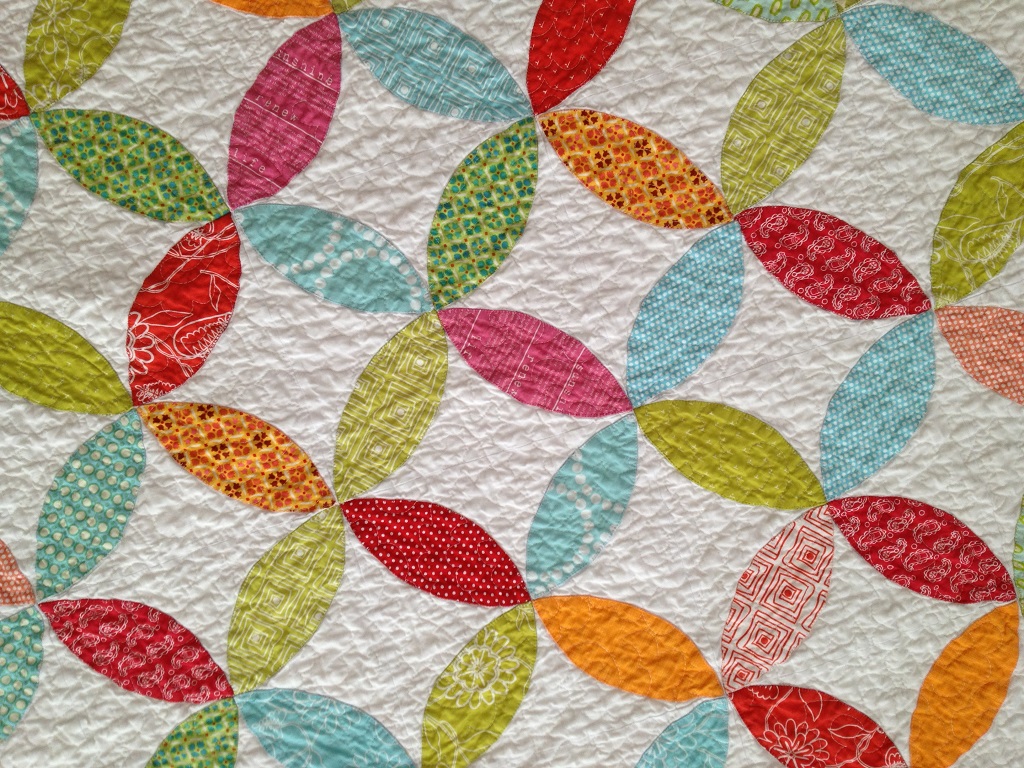
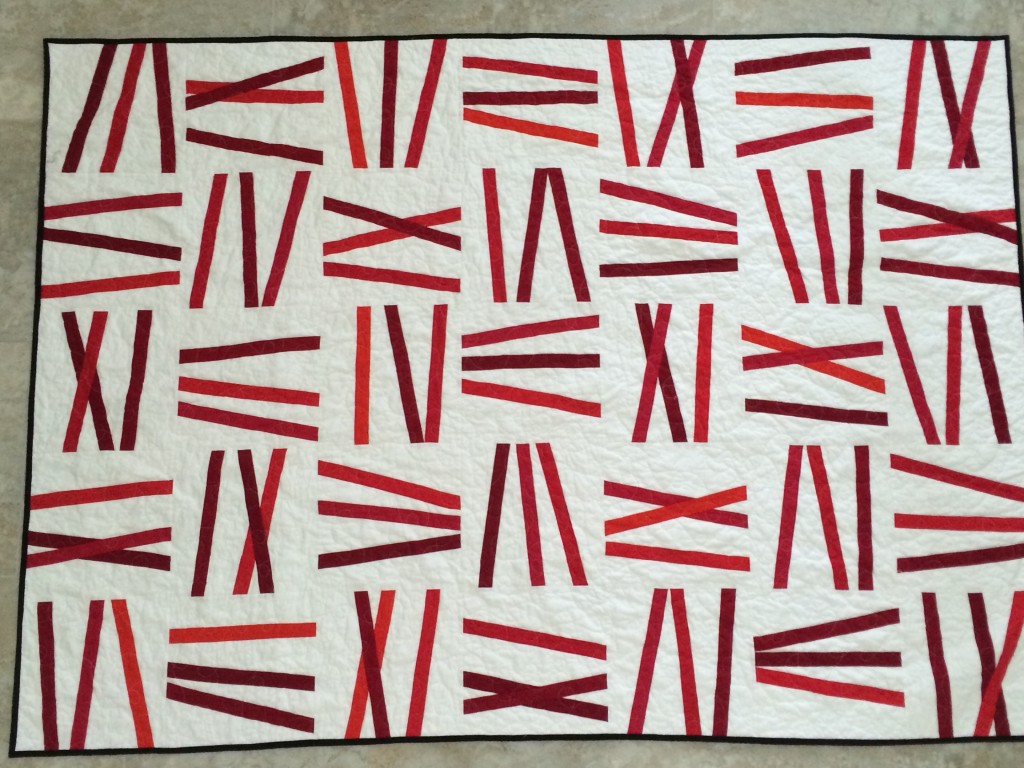
Hand Applique Orange Peel Quilt
A long time ago, I made a quilt using an orange ...continue
Fun Ideas


Creative Quilts

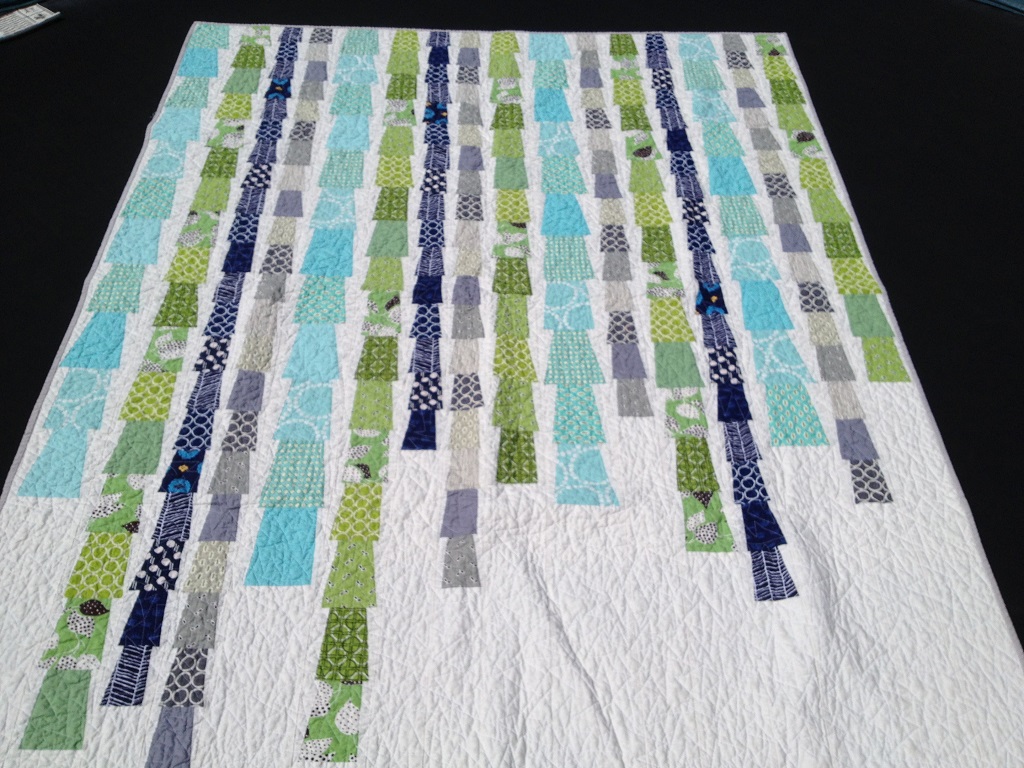
Half Square Triangle “on point” Teacher Quilt (139)
When I asked this teacher about her favorite ...continue
Quilts to see
Copyright © 2024 | MH Purity WordPress Theme by MH Themes