Stash-busting Tile Quilt and Tutorial(136)
As you know, I can’t name quilts. I just can’t name them.
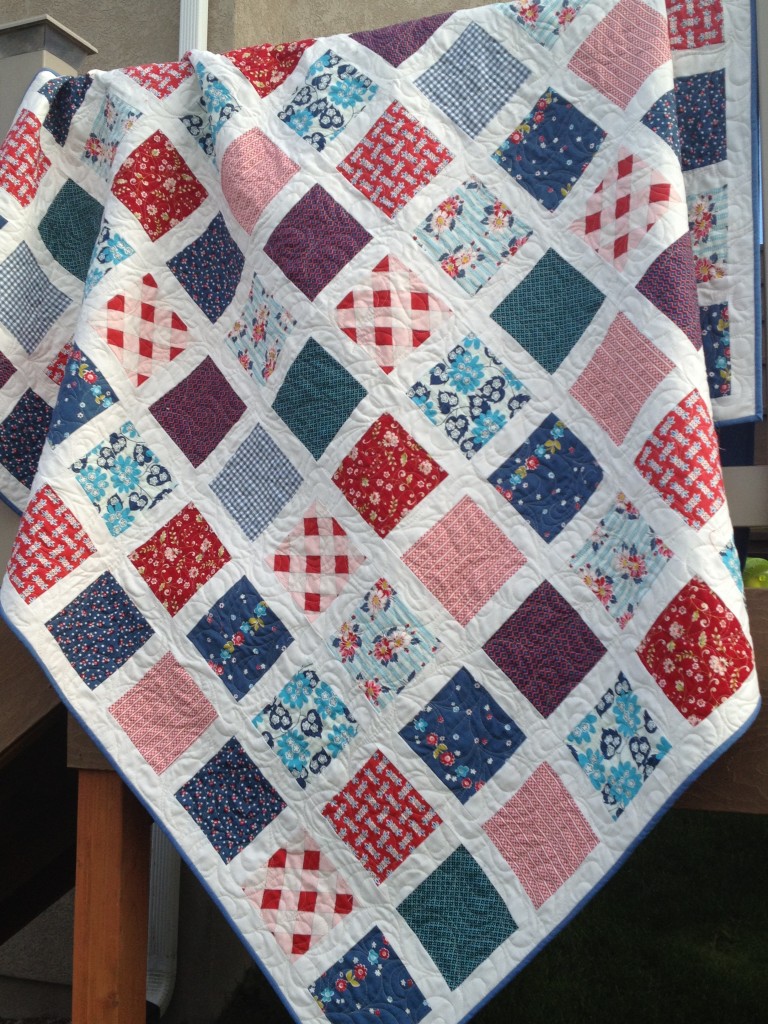
Yes, I’m calling this a “Tile Quilt.”
It could have been worse! I could have called it “Fields and Roads”
Or “Tile and Grout.”
Or “Squares and Sash.”
Or my usual go-to, “The Square Quilt.”
I have made this quilt before, and I do believe it is my favorite “easy” quilt.
Would you like to know how to make it? It is very easy.
1) Cut:
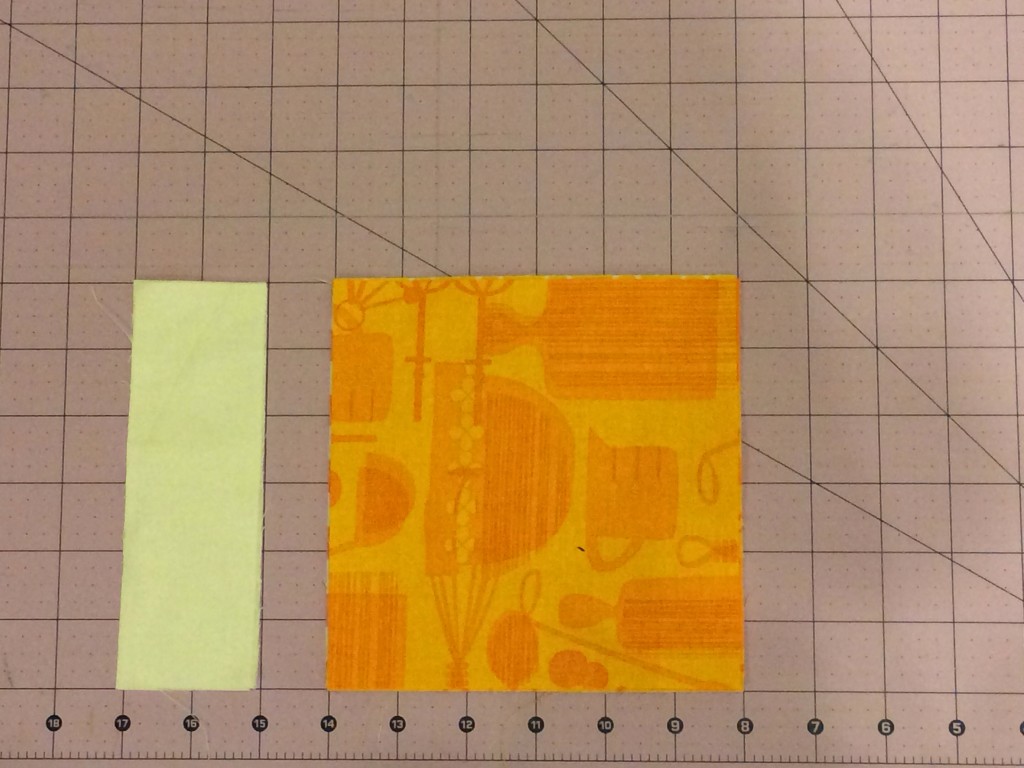
130 6×6 inch “Tile” squares
117 2×6 inch background sash strips. (The background sash strip looks yellow in this picture, but it is just the lighting!)
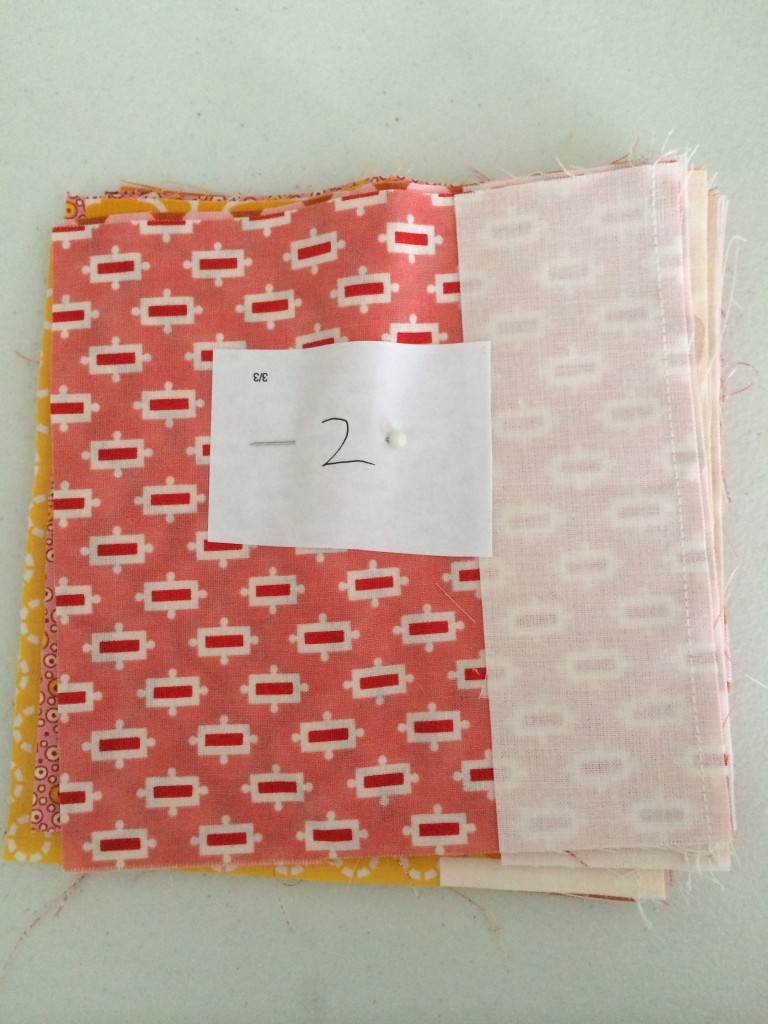
2) Pull 13 “Tile” squares of varying fabrics from the pile. This should leave you with 117 fabric squares and 117 sash strips.
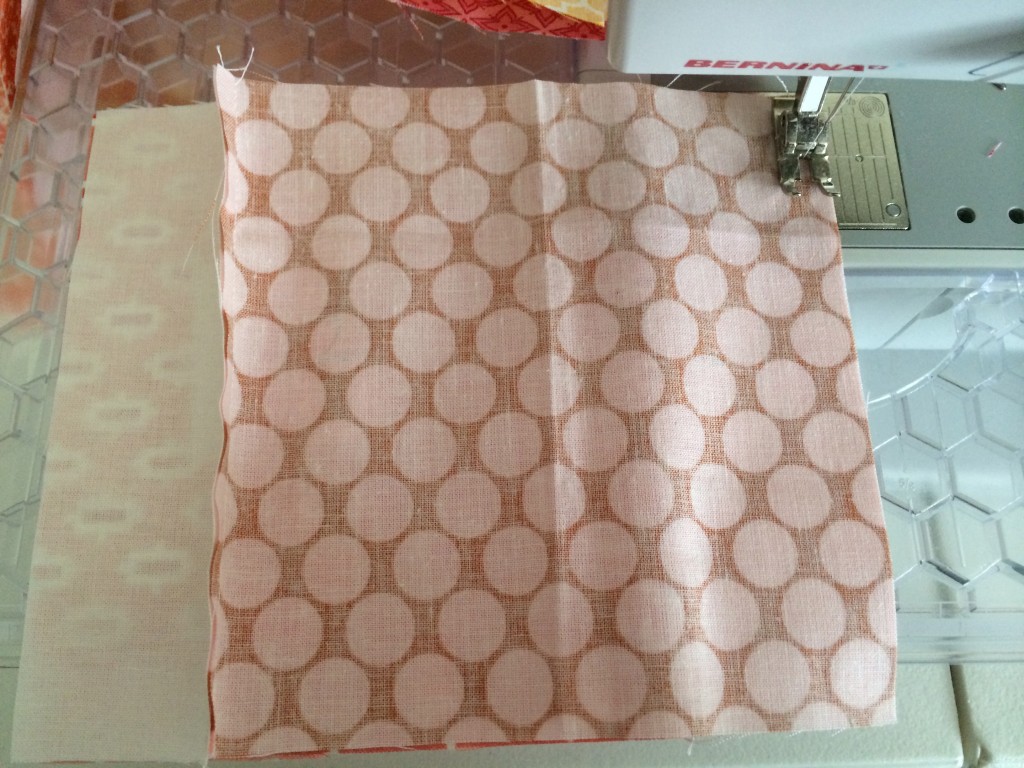
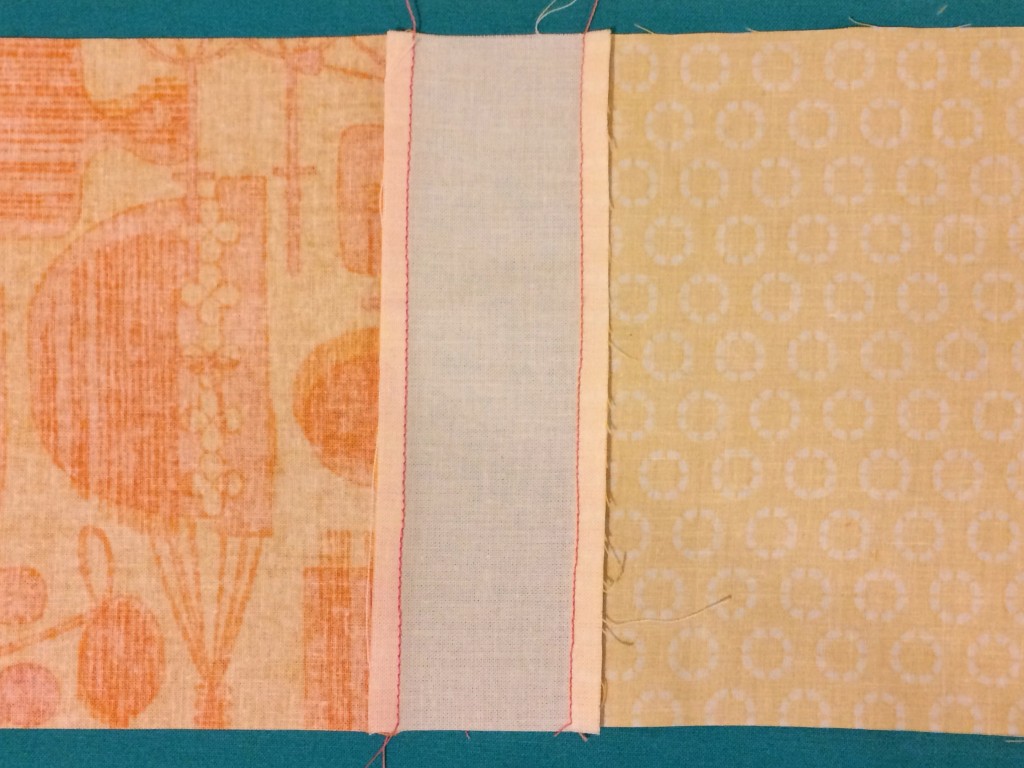
3) Sew one sash strip to each fabric square.
4) Once you have all 117 strips sewn to the 117 squares, arrange them in 13 rows of 9, adding to the end of each row one of the 13 squares you pulled from the “Tile” pile.
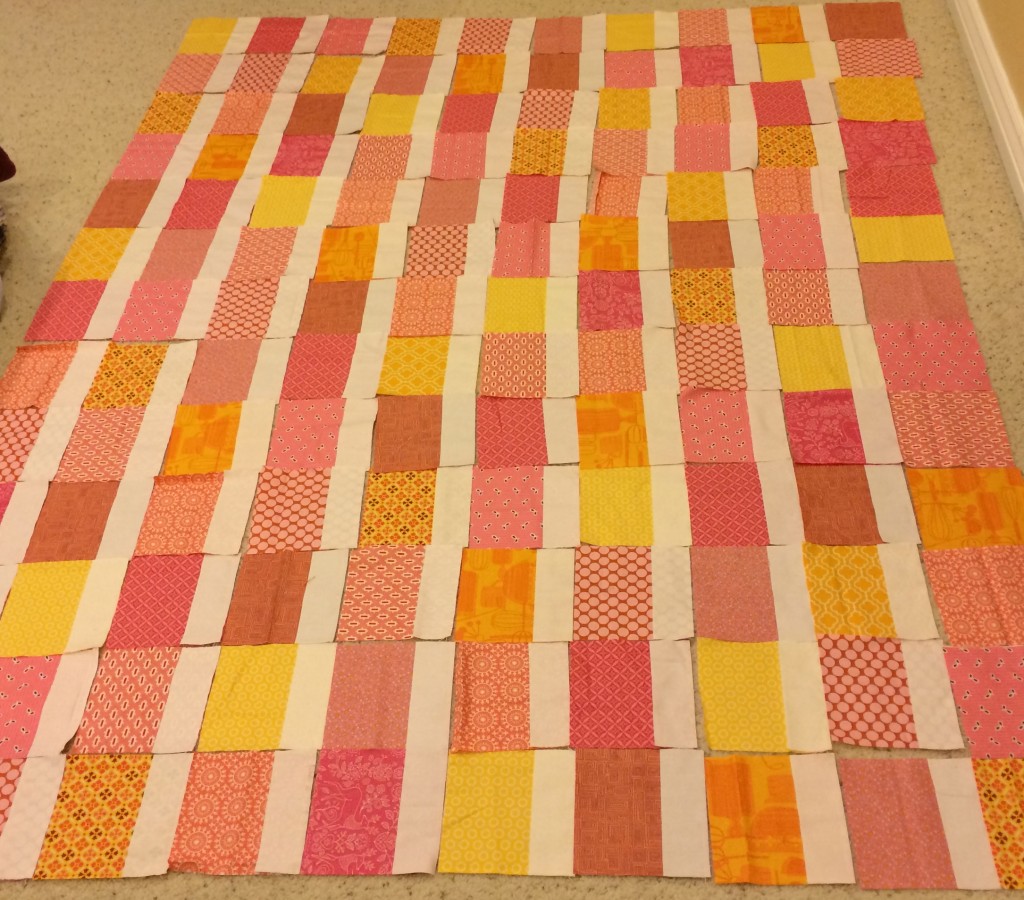
5) Sew the 13 rows together, making sure to keep the strip of background sash between the square “tiles.” You should now have 13 rows consisting of 10 “tile” squares separated by 9 sash strips.
6) Press the seams toward the darker fabric. In this case, I pressed my seams toward the “tile” squares.
7) Cut 29 2-inch strips (selvage to selvage) of background fabric and sew them together end to end. You may need more depending on the width of the fabric.
8) Measure the 13 “tile” rows. The rows should be about 68.5 inches in length, but since everybody sews differently, yours might consistently be shorter or longer than this. If this is so, then no worries. Use your average row length to cut 14 strips of background fabric, two inches wide. So, in a perfect world, you would cut 14 strips 2 inches by 69 inches. Even though the rows might not be the same size, it is important to make the strips the same length to help your quilt become uniform.
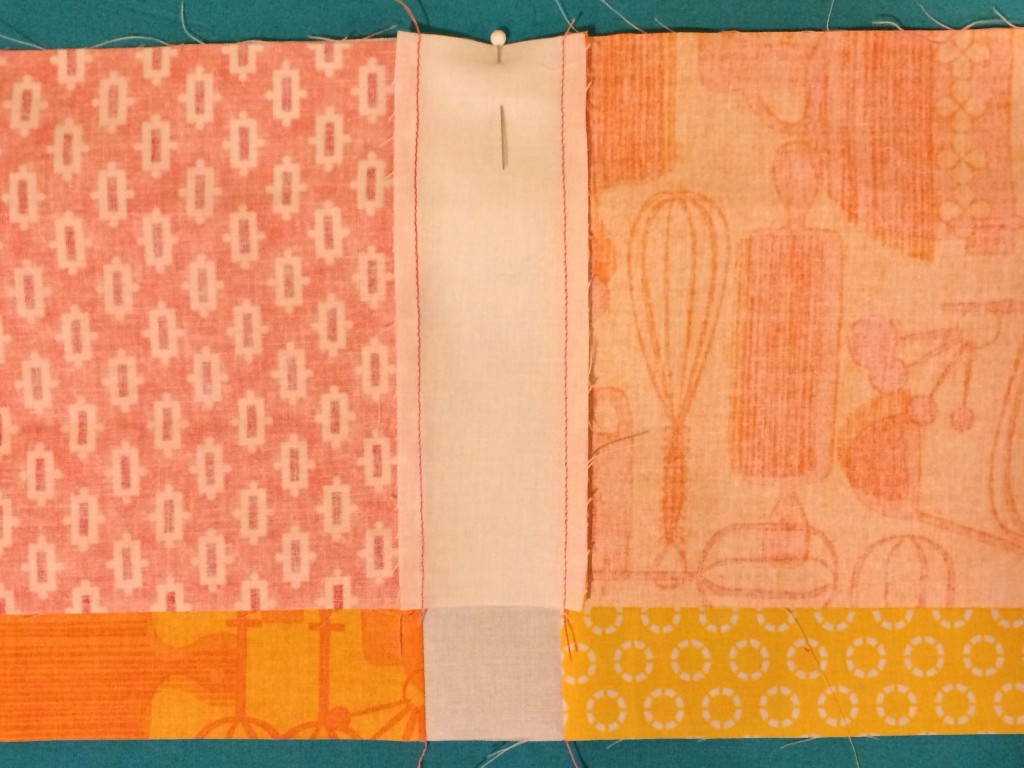
9) Pin a background strip to the top of each “tile” row. On “tile” row 13, pin a strip to the top and the bottom of the row. I suggest pinning the sides first, then the middle and work in from there.
10) Sew the background strips to the “tile” rows.
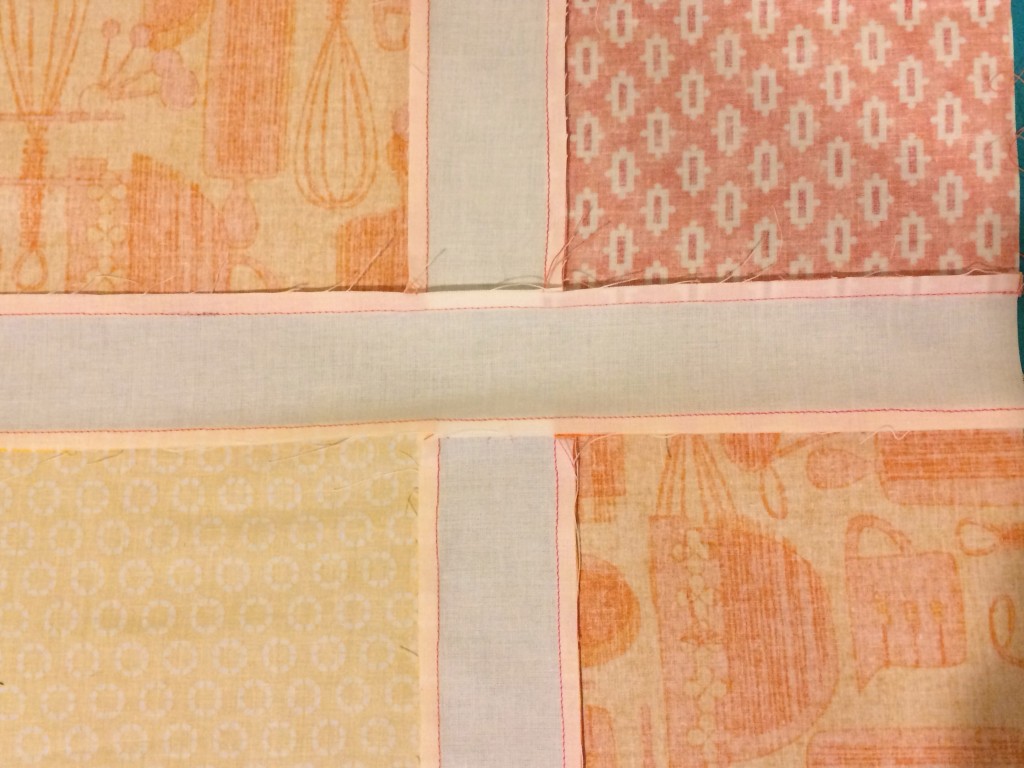
11) Pin pairs of rows together, with the long strips of sash separating the “tile” rows. During this step, I tried to make sure the 2×6 strips were aligned with the 2×6 strips above and below them and pinned accordingly. This assures that these maintain a “vertical row” appearance in the final quilt. Sew the pairs together (1 to 2, 3 to 4, 5 to 6, 7 to 8, 9 to 10, and 11 to 12)
12) Pin row pairs together (1-2 to 3-4, 5-6 to 7-8, and 9-10 to 11-12), again making sure to match up 2×6 inch strips. Sew.
13) Pin panel 1-2-3-4 to panel 5-6-7-8. Pin panel 9-10-11-12 to row 13, matching up 2×6 strips. Sew
14) Pin two panels together, sewing together between rows 8 and 9, matching up the 2×6 strips.
15) Press the seams away from the long strips of background fabric, toward the “tile” rows.
16) Measure the sides of the quilt. In a perfect world, it should be 93 inches, but it is OK if it isn’t. Cut 2 2-inch background strips the length of the quilt. Pin these strips to the quilt along the length of the quilt, creating a border to the end of all the rows. See picture below. Sew.

17) Press the seams away from the background strip (toward the “tile” rows). Now your quilt top is done, and it should be about 71.5 inches by 92.5 inches. My main goal in this quilt is to have the squares look like they are evenly placed on a grid. Here is a view from the side. We hope (and expect) these lines are straight since they are made from one strip of fabric. But the true test is how the vertical lines look since these visual lines are made from many different strips of fabric.
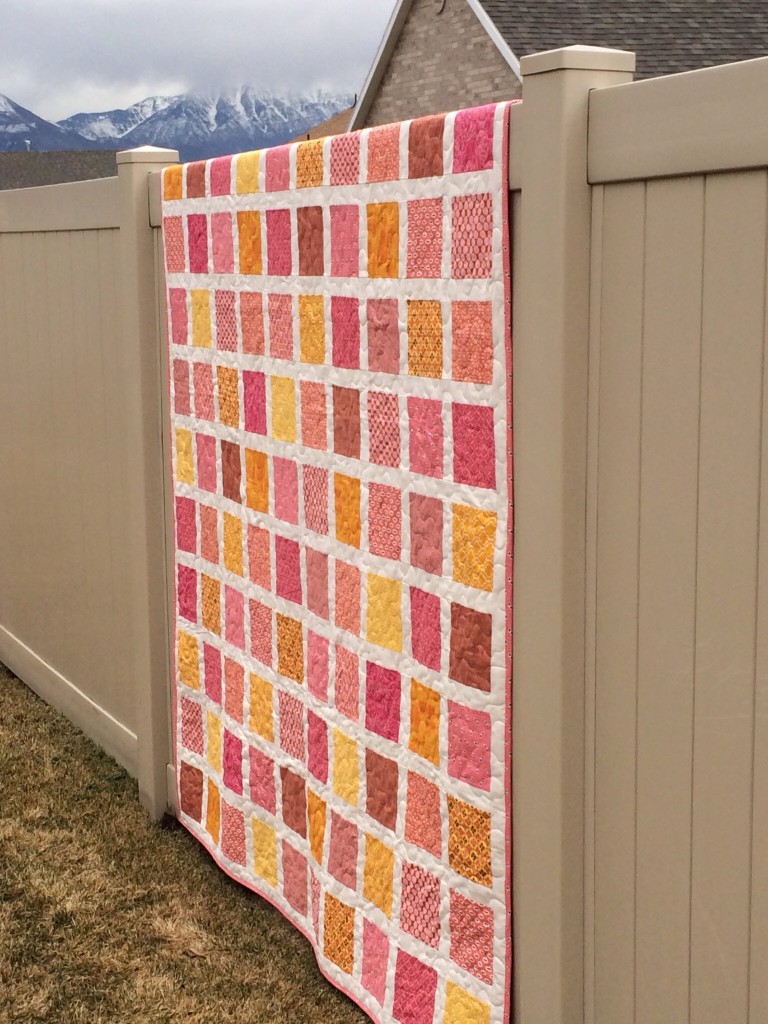
Here is the view from the top of the quilt.
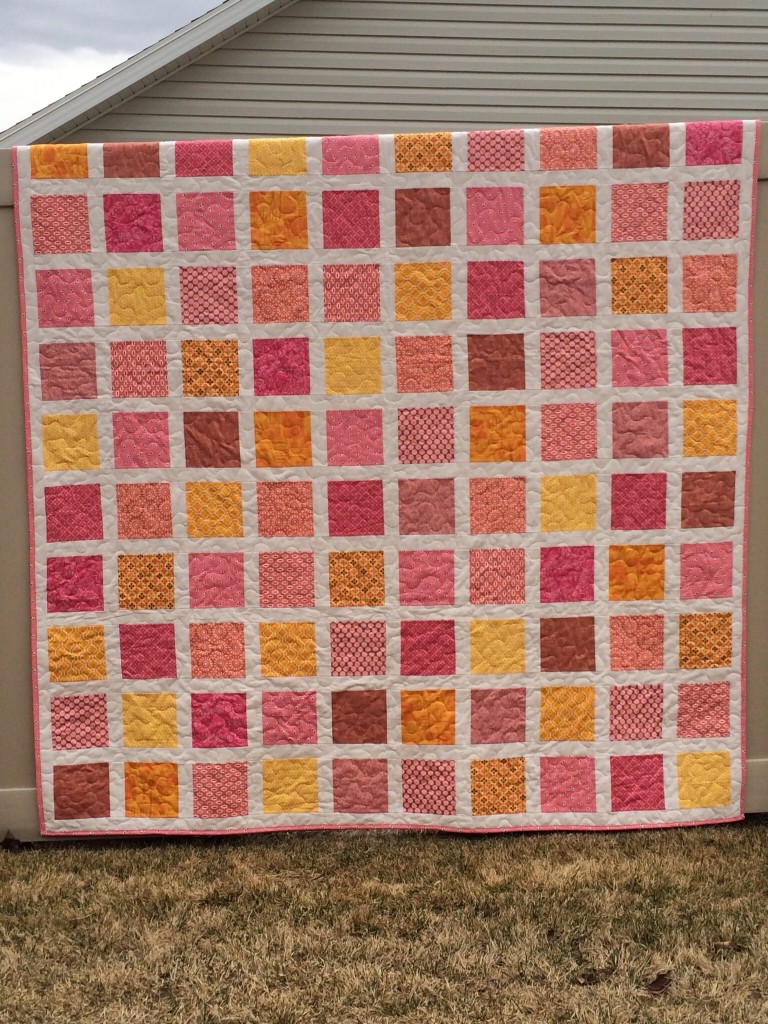
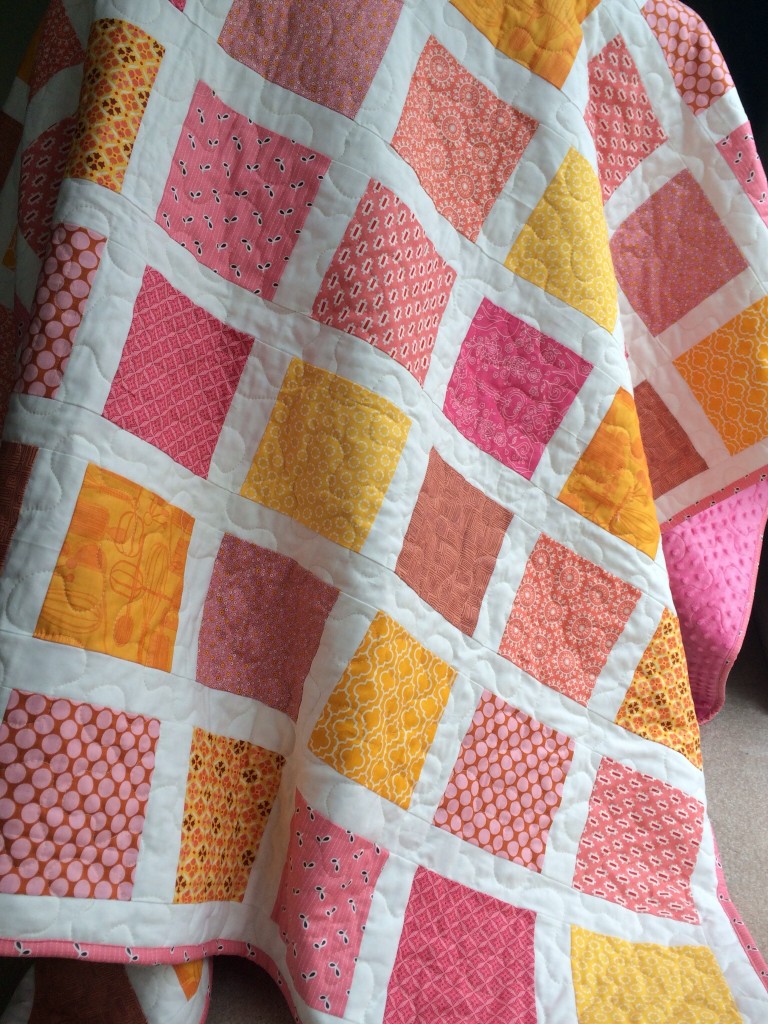
This quilt is was bound with a Denise Schmidt Flea Market Fancy pink print. I quilted it in a large free-motion meandering design, which is one of my favorites when I use minky as a backing fabric.
This quilt will be auctioned at a church fundraising activity. I hope a wonderful girl gets to enjoy some cold winter nights under this warm quilt. Thanks for stopping by!
Leave a comment
You must be logged in to post a comment.