Scrappy Flowering Snowball Quilt
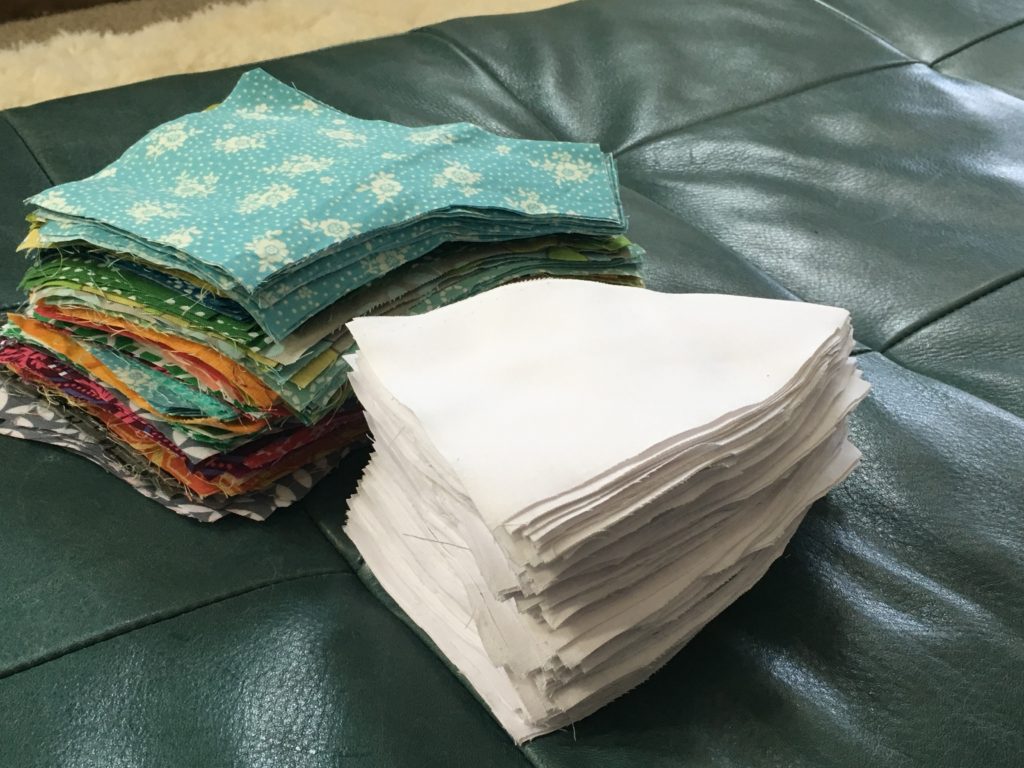
I have seen so many quilters do fun quilts using flowering snowballs. I didn’t want to get too creative, just the basics, so I decided to make just a regular scrappy flowering snowball quilt. I’ll admit, the hardest part of this whole process was cutting the fabric, because unlike simple squares and triangles, you can’t just use a ruler and rotary cutter for these! But, I made some plastic cut-out patterns and while watching TV with my family, I traced and cut and traced and cut.
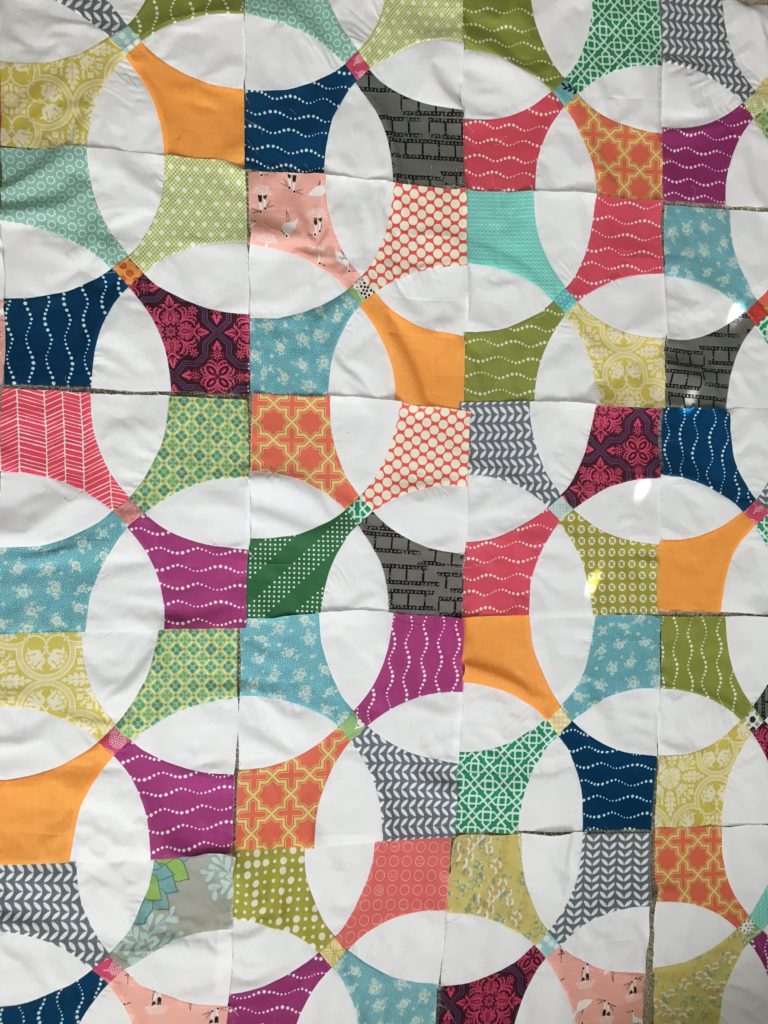
Unlike the cutting, sewing these together was a breeze! I actually liked sewing them on the curve.
The funny thing is, I don’t know what kind of math I was using to calculate my fabric needs, but by the time I finished sewing all of my squares together to make a quilt top, I had about 30 squares left over! Maybe I was planning on making this a queen sized quilt instead of a 5 x 7? I don’t know what I was thinking, but I ended up with 30 lovely extra blocks, which you’ll see what I do with those in the end.
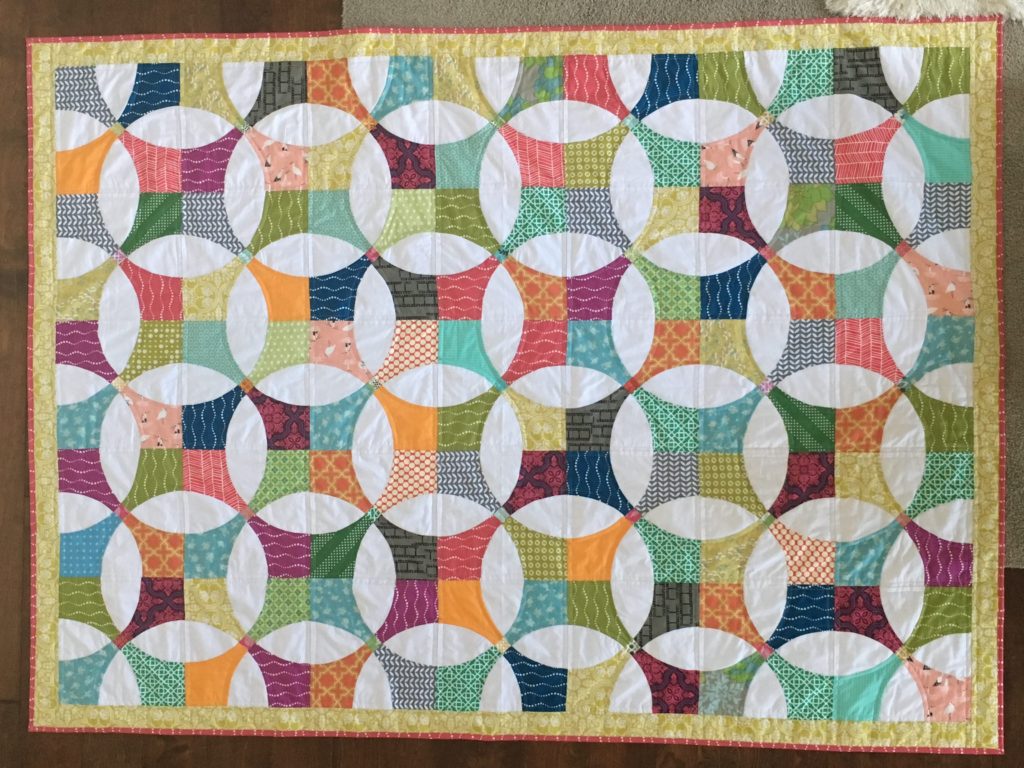
I did decide though that 5 x 7 was a little too small, so I added about 3 inches of a border on all sides. Then I quilted it, in some case following the lines of the squares, and in other cases following the lines of the curves. Quilting this quilt was fun, too, mostly because of those curves.
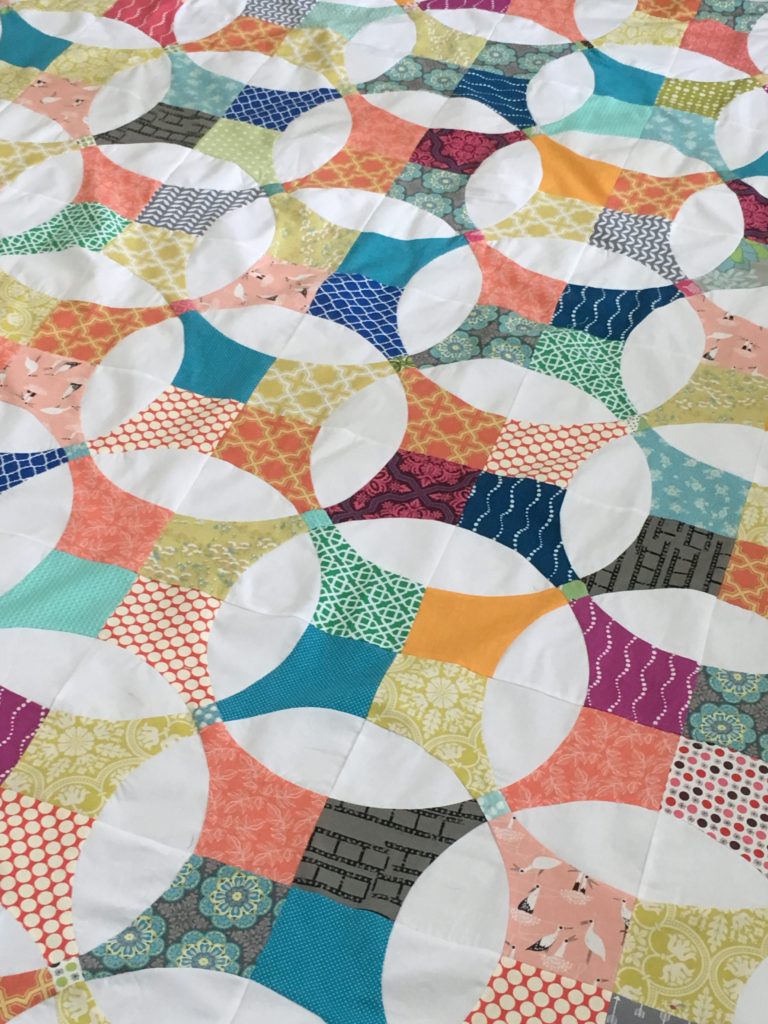
I’m not sure if you can tell, but while quilting those curves, I didn’t sew around each circle. I actually sewed more of a wavy line, following the curve back and forth up a row, crossing the lines at the little squares in the middle of each block. This made it so that I didn’t have to stop and tie off any loose ends, and I could create the illusion of sewing a circle when I really just sewed wavy lines.
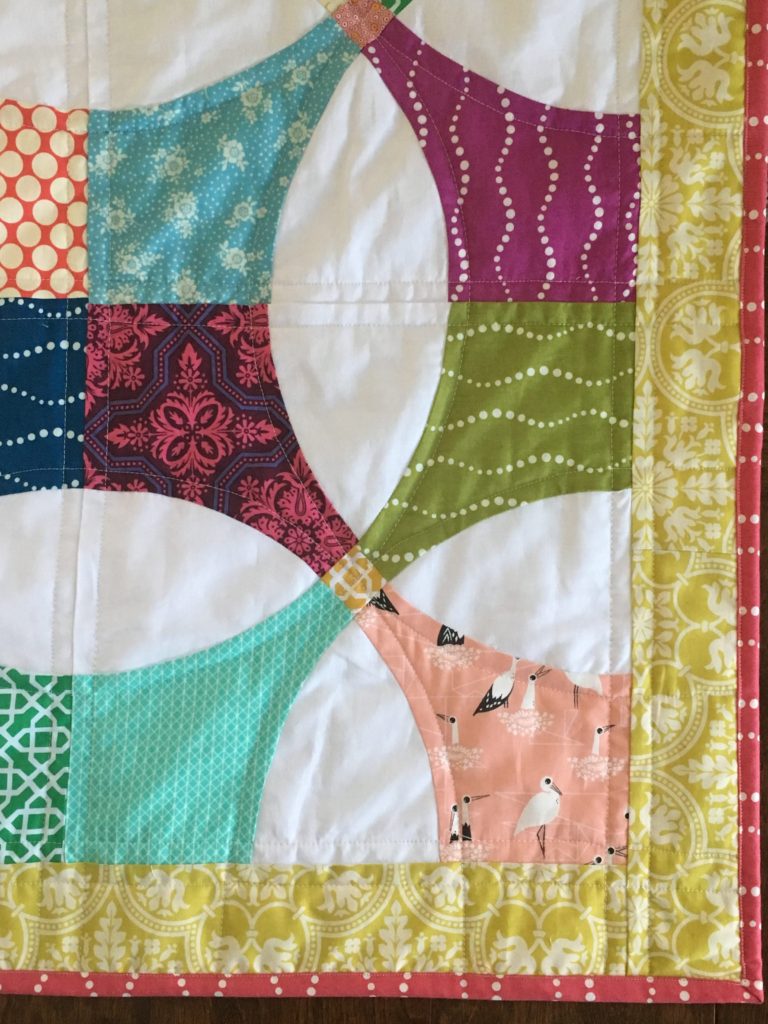
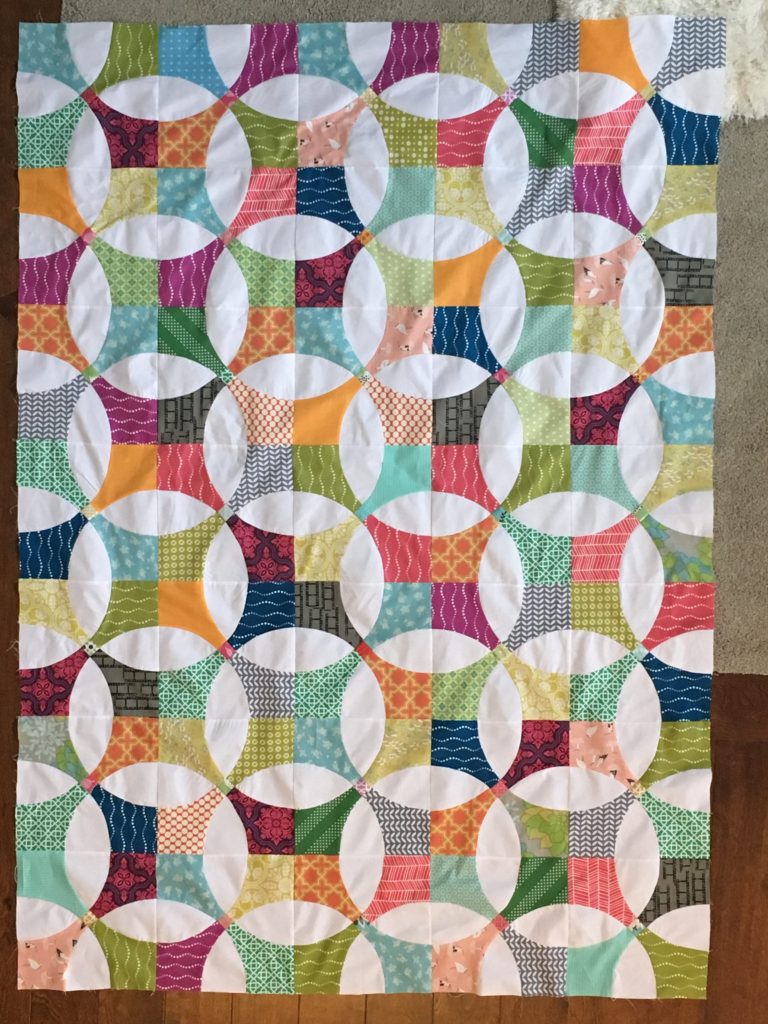
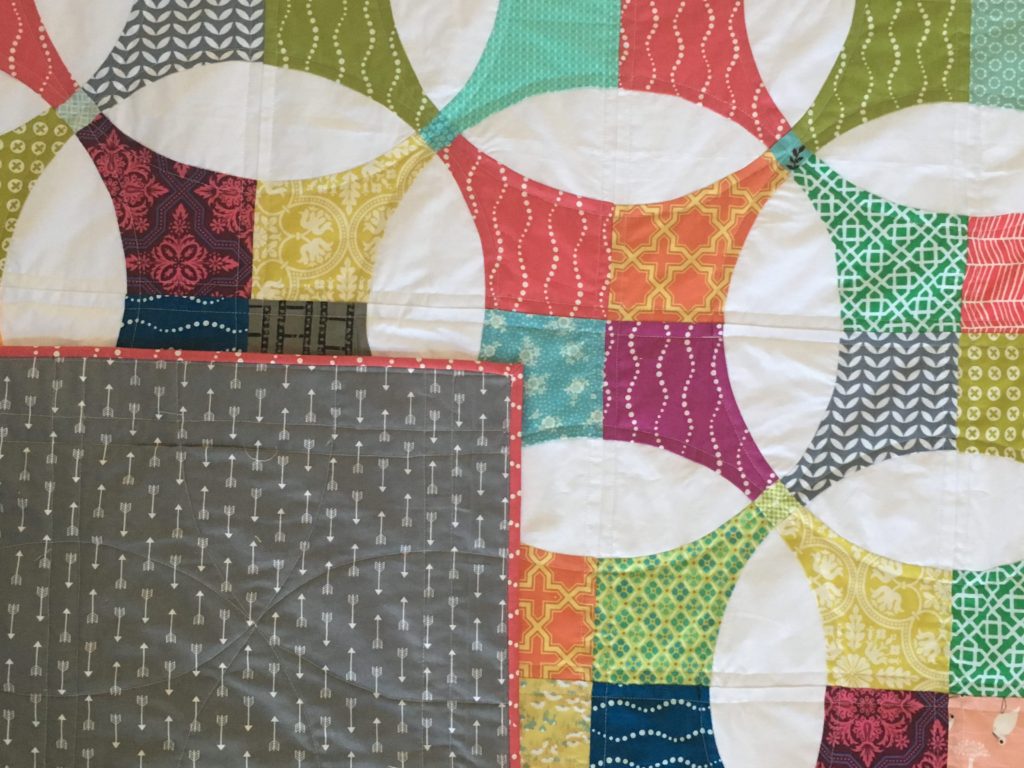
I used this fun yellow fabric for the border, with a pop of red for the binding and a nice gray modern fabric for the back. You can’t see it, but the kids signatures are also on the back of this quilt.
Here is the quilt from above. The teacher who received it loved it. And this was a fun quilt to make because of the new things I learned from it, and visually, I just like the design.
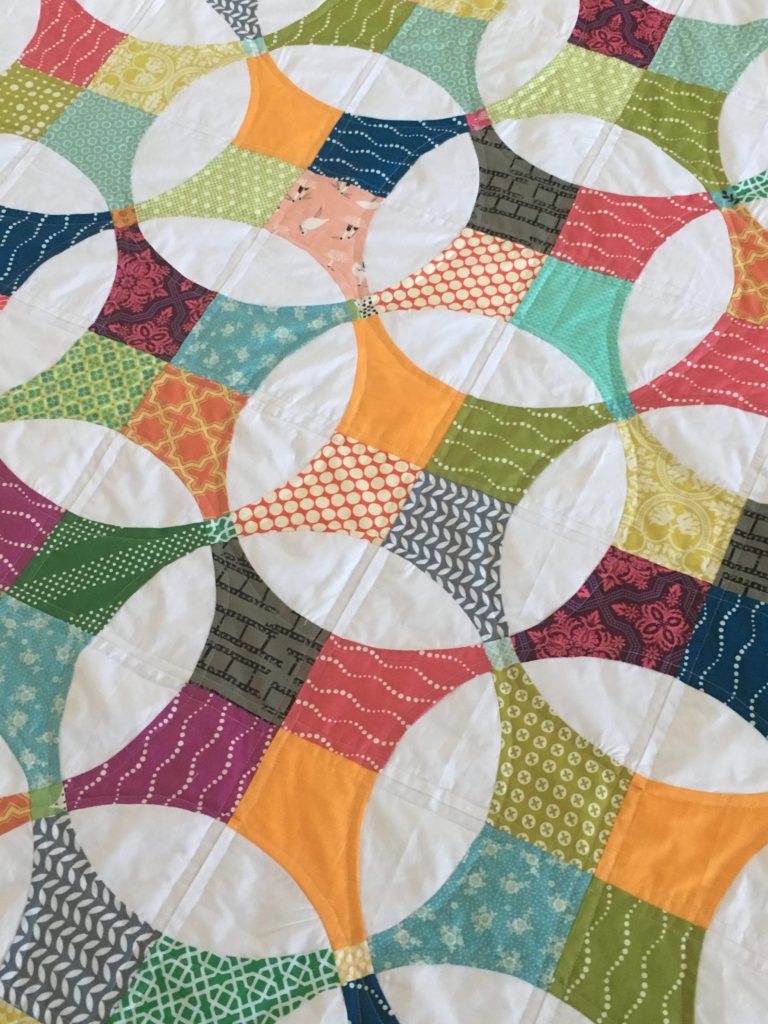
And, since I already had 30 blocks made, I went ahead and made an additional 18 and put together this quilt top.
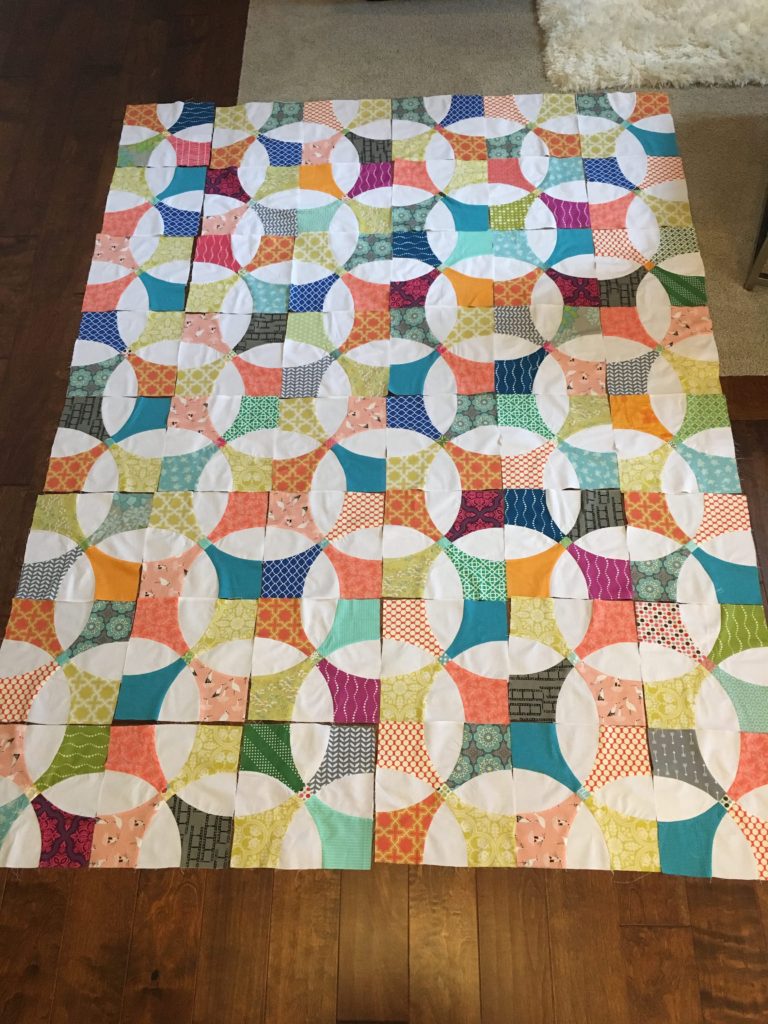
It is sitting in my closet, waiting to be basted, quilted, and bound. I just need to find the perfect reason to pull it out again.
And yes, unlike the first quilt I made, this quilt is 6 x 8, so it is a little bit bigger than the one you just saw. Thanks for stopping by!
Leave a comment
You must be logged in to post a comment.