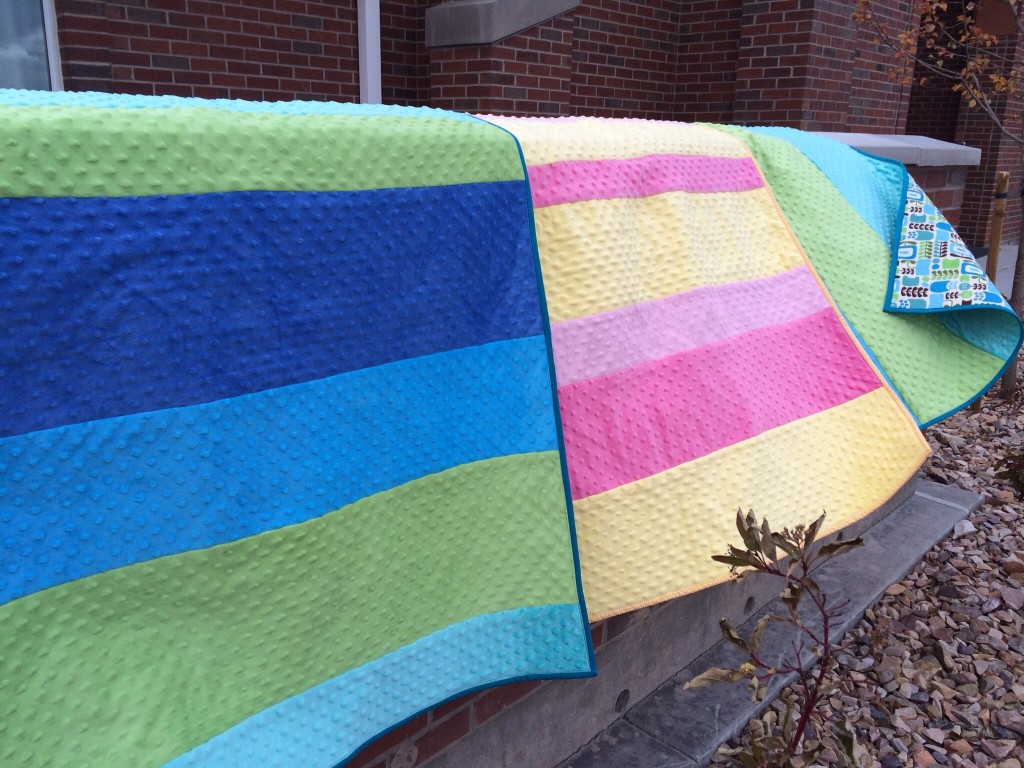
Baby Quilts Using Your Minky Scraps! (129, 130, 131)
Lately, I have been making a lot of quilts using minky (plush cuddle fabric–polyester), and so I have found myself with a lot of large panels of minky scraps. My children wanted to have them string through the trees, wrap-around their bodies, and otherwise litter the neighborhood, but something inside me said, “You can use these later. Save them.” So I did.
The thought of using minky as a scrap project was daunting. Minky stretches. The edges curl under. It doesn’t keep its shape. It is slippery. The only thing that has allowed me to use it as a backing is SPRAY BASTE and pin basting on top of that spray basting. But, how was I to do that when I was just sewing two slabs of Minky together (or squares, because I was considering making a patchwork quilt with it)?
So, I decided to go for it, using slabs of minky and sewing them onto a pre-basted fabric/batting combo. Here are the results:
The overall process was pretty easy. I’ll show you how I made mine, and then give you some tips on what might work better. 😉
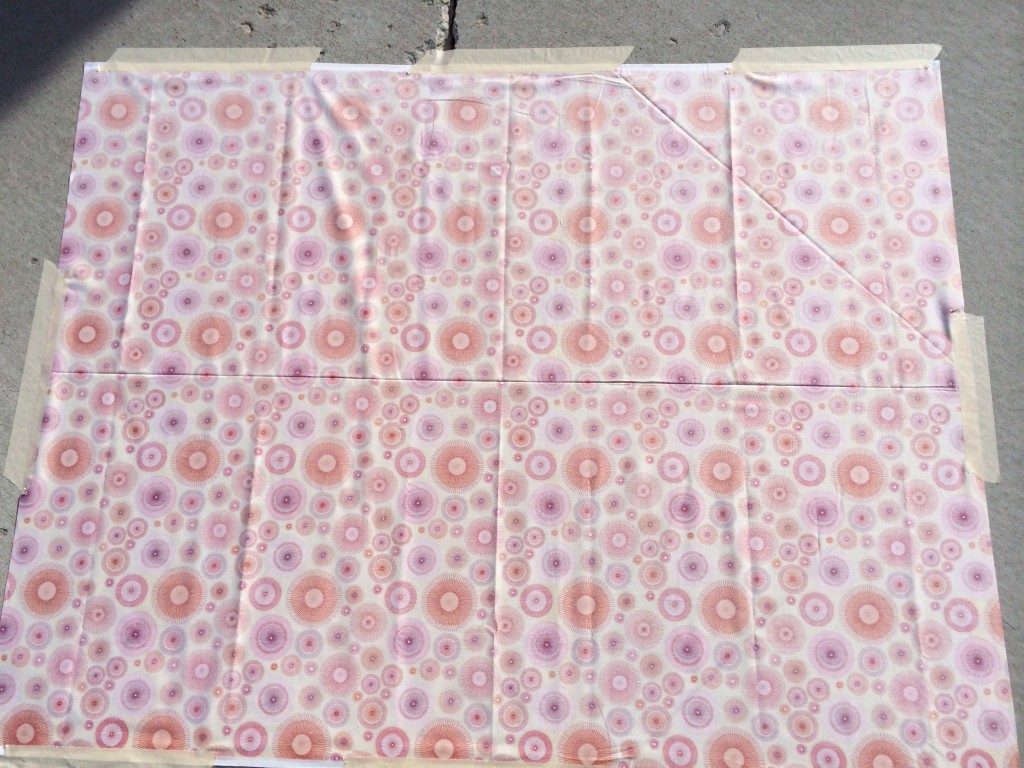
I first secured the cotton fabric to the ground so that I could baste it to the batting. Honestly, perhaps securing the batting to the ground and then basting the cotton print to the batting is probably better, but that is just so you can avoid that large crease down the center of the fabric. But, either way. This fabric is 1 1/2 yards of fabric, and it is the whole width of the fabric. I chose a large print to give variety to the quilt since on the side it would have large lines of color.
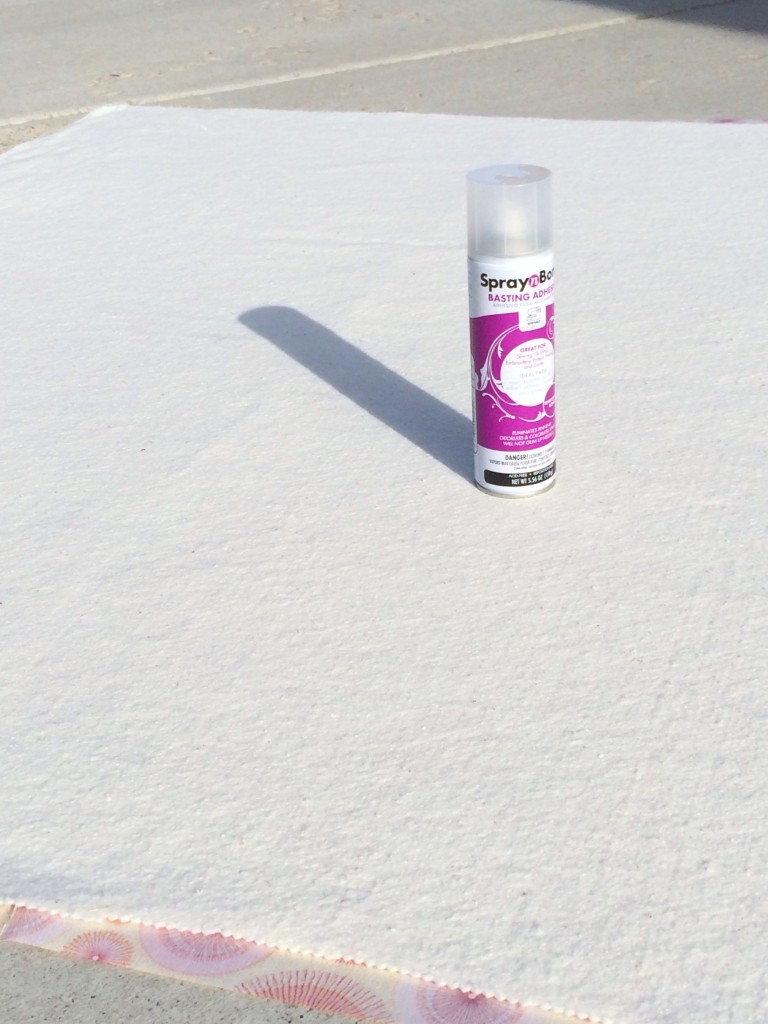
The next step involves spray baste. Basically, you spray baste the batting to the wrong side of the fabric (or baste the fabric to the batting), and then set your batting/fabric panel aside. I always spray baste outside, even in 40-degree weather. Look at your spray baste directions for further instructions and warnings.
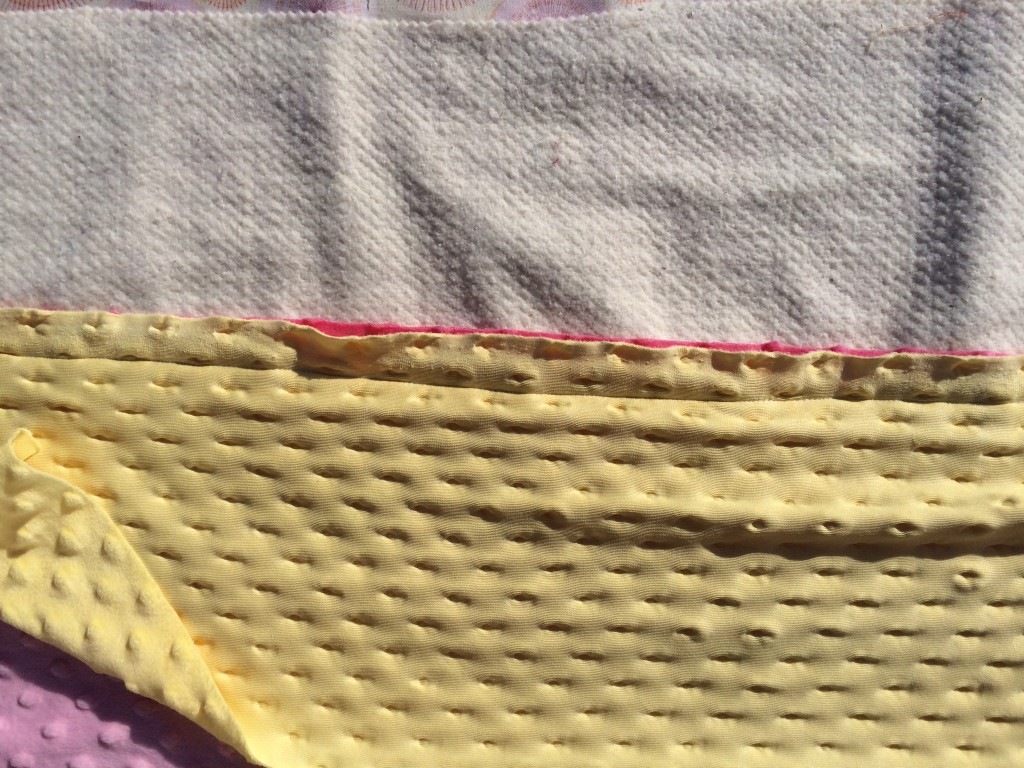
The next step is to prep your minky. I straightened the edges of the minky using my rotary cutter, mat, and ruler. I suggest cutting the selvage from the minky since it looks and plays differently than the rest of the minky. I hid some of my selvages in the seams of my first one, but if I were to do it again, I would have cut off all of the selvages.
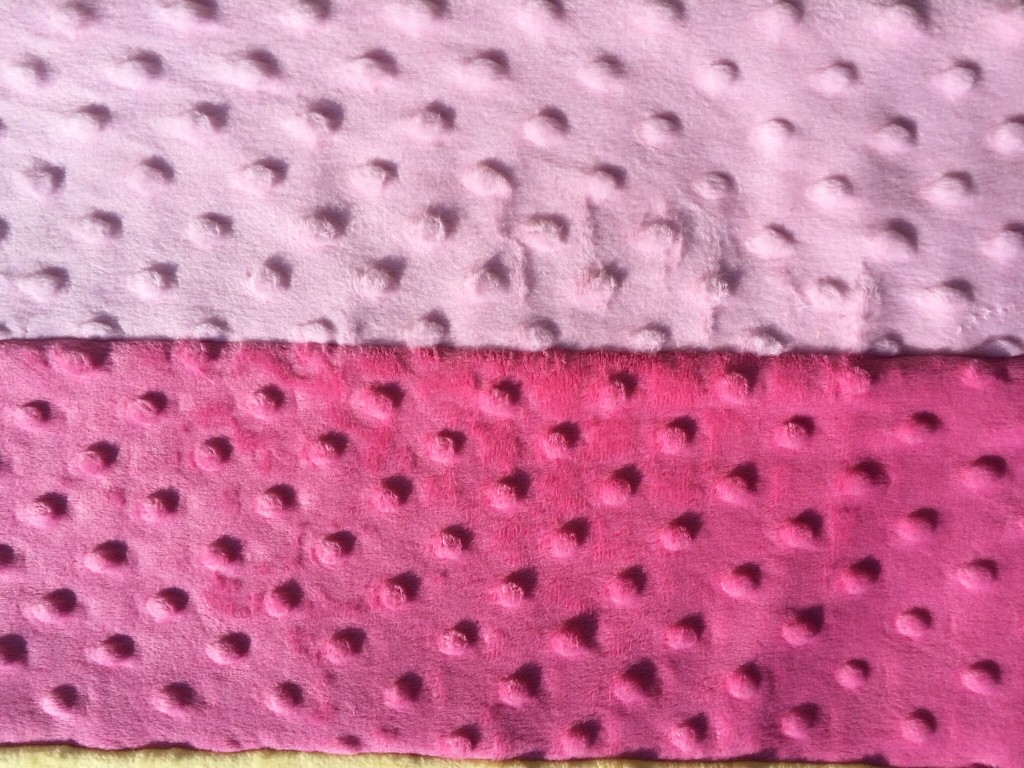
I wanted the nap of my minky to all be in the same direction. So, I sorted by the direction of the nap. The nap runs in the same direction as the selvage, so depending on how the scrap was cut (cut parallel to the selvage or from selvage to selvage), the nap will be different. Below is a picture of the minky when I rubbed my hand against the nap. So the dark pink and the light pink have the nap going in the same direction.
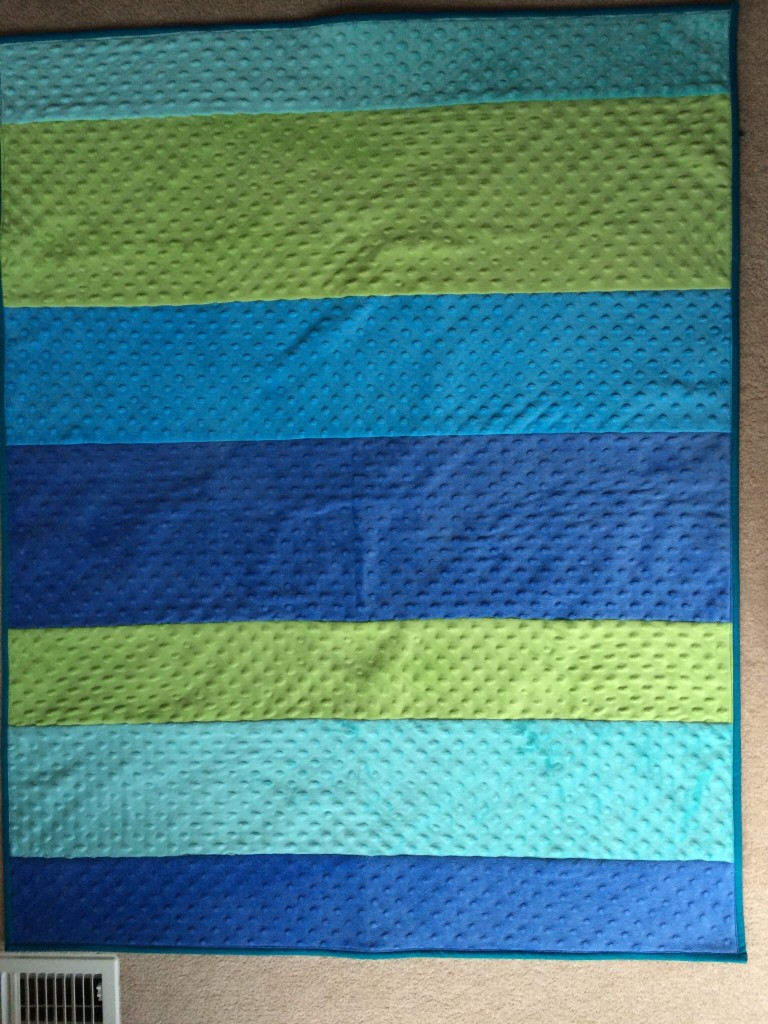
Spray baste your first minky panel to the batting side of your batting/fabric panel. Try to get this piece as straight as you can. Also, make sure to pull it taut, so that it is stretched out a little. Minky tends to stretch when it is sewn, so this will make sure the stretch is consistent throughout the minky and reduces the “baggy look” after you wash it. Next, pin the adjacent fabric panels to the center panel. I did not pin the panels to the baby girl quilt, but I did pin the panels to the boy quilt, and I think it makes a big difference.
Now, it is time to sew. I recommend at least a 1/2 inch seam as you sew the minky down. Remember that you are quilting through the fabric/batting panel as you sew the minky to it, so be conscious of your thread choice for your bobbin. You want it to match your cotton print.
Now, it is time to sew. I recommend at least a 1/2 inch seam as you sew the minky down. Remember that you are quilting through the fabric/batting panel as you sew the minky to it, so be conscious of your thread choice for your bobbin. You want it to match your cotton print.
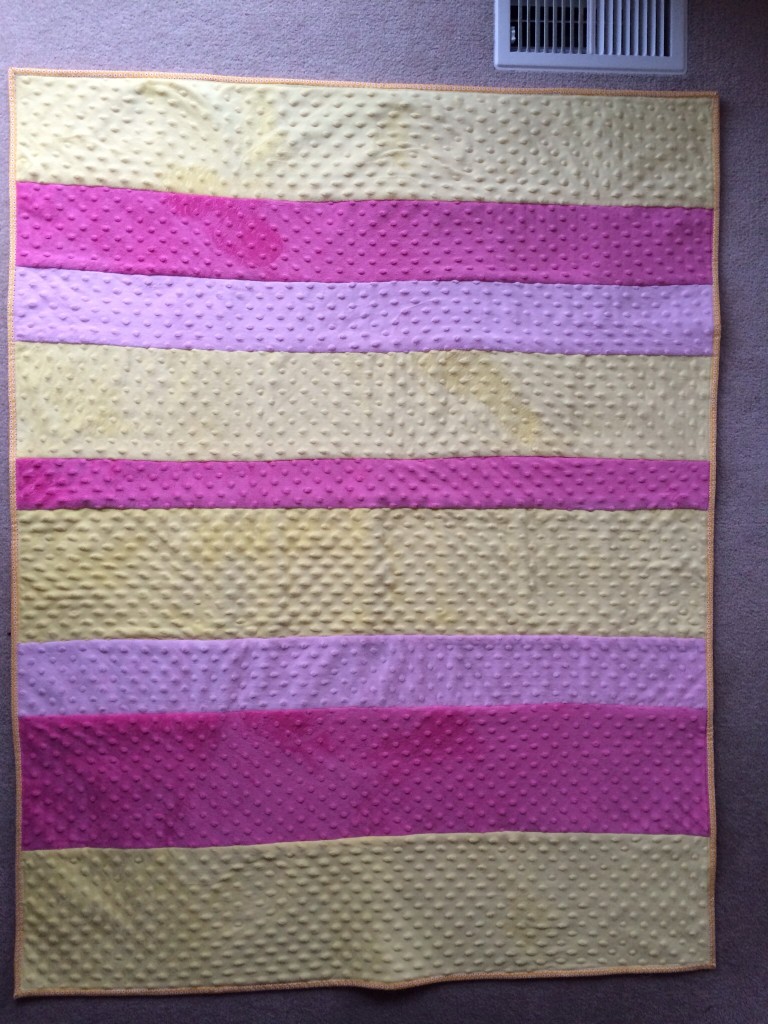
The quilt above is the one I did without pinning (and I tried to hide the selvages in the seams). Even with all of mistakes, it still didn’t look too bad. I did a much better job on the other two.
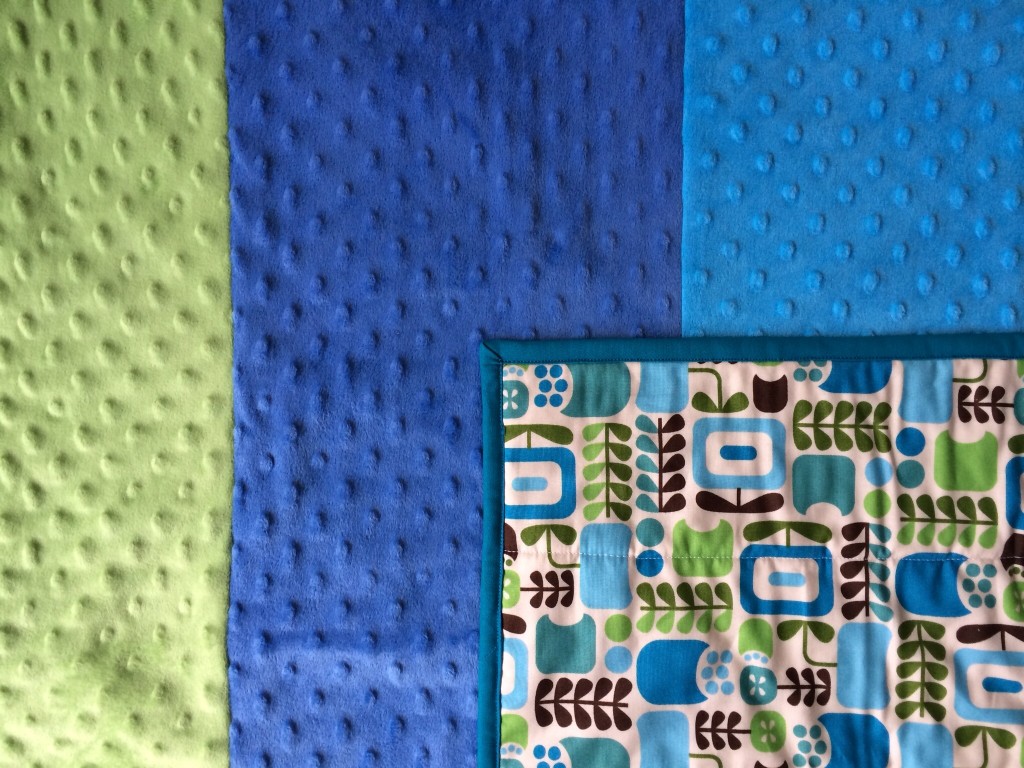
From here, square off the edges of the fabric, and add the binding. I machine bound mine, so I sew the binding (2 1/2 inches folded double) to the minky side first, then topstitch the folded edge to the cotton print side.
And now you have a soft, lightly quilted, very cuddly baby quilt that can be finished in about 1 1/2 hours.
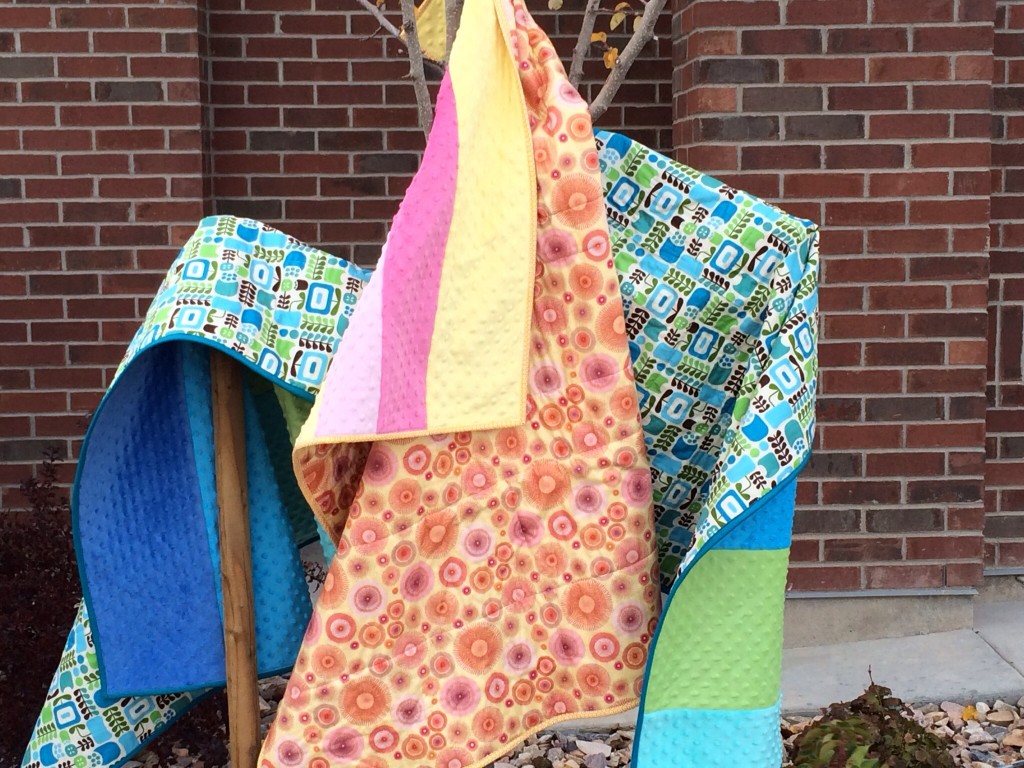
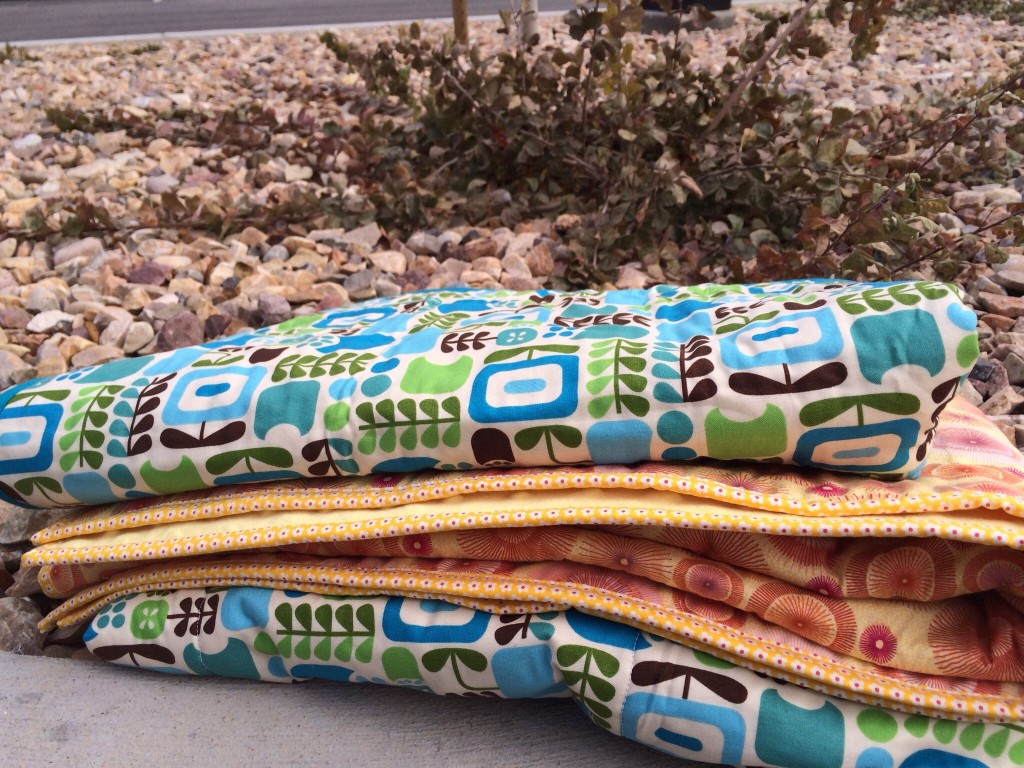
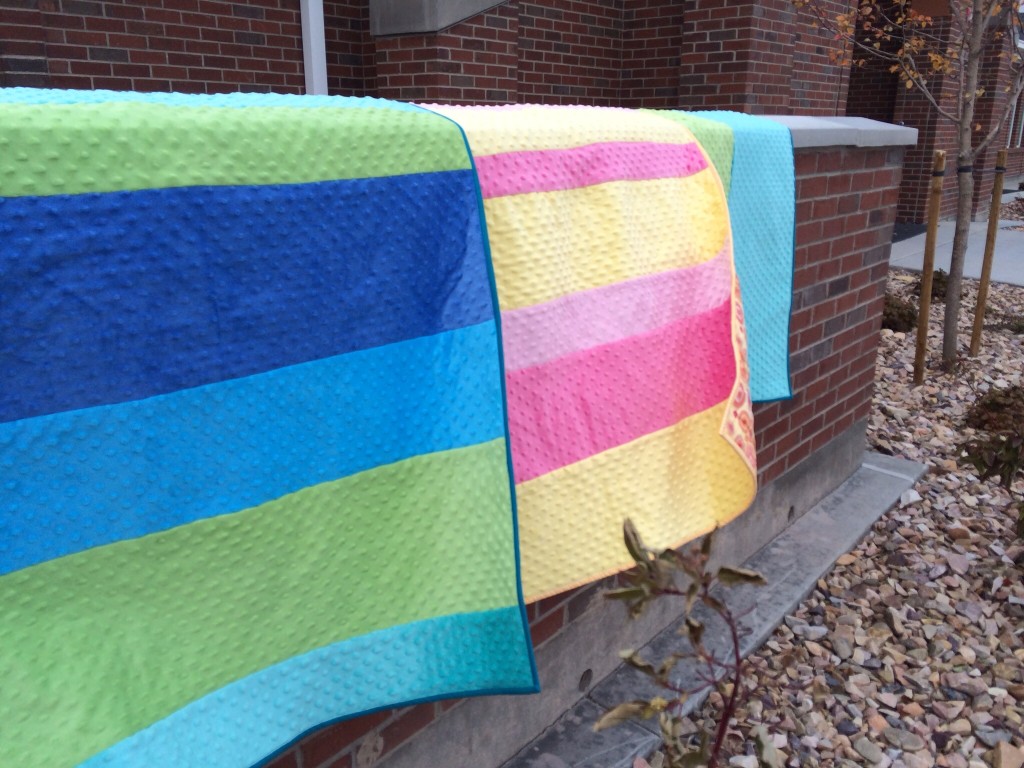
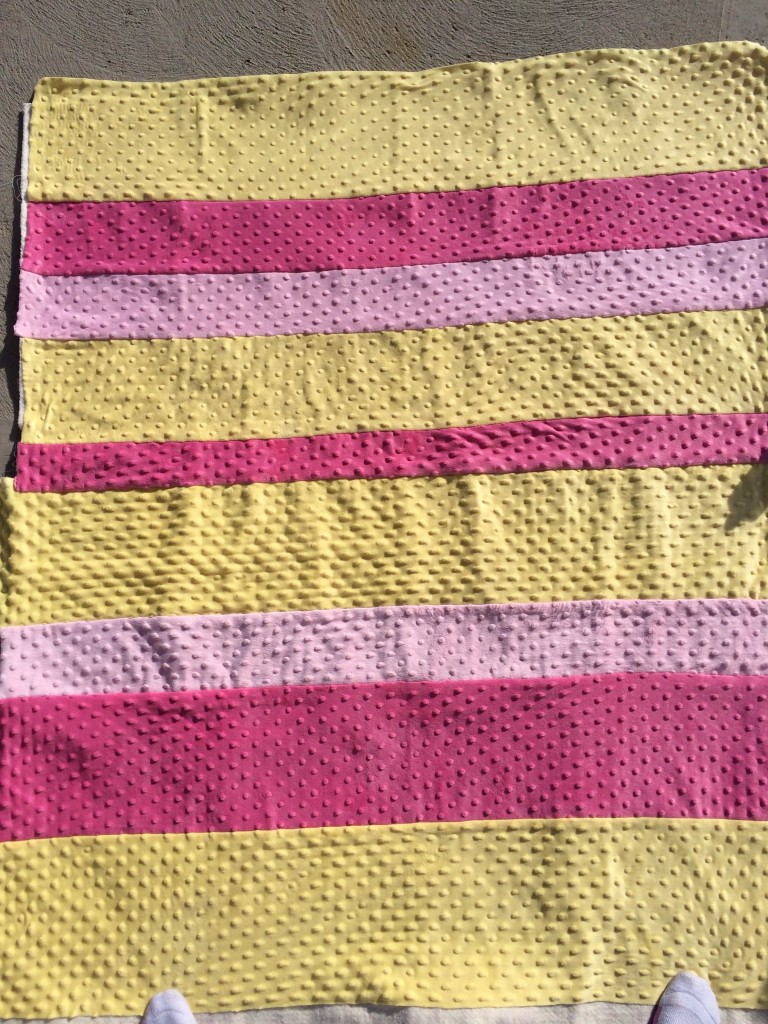
Enjoy working with your minky scraps! These quilts are about 36 by 48 inches. Thanks for stopping by!
Leave a comment
You must be logged in to post a comment.