Safe and Sound Paper Piecing Pattern
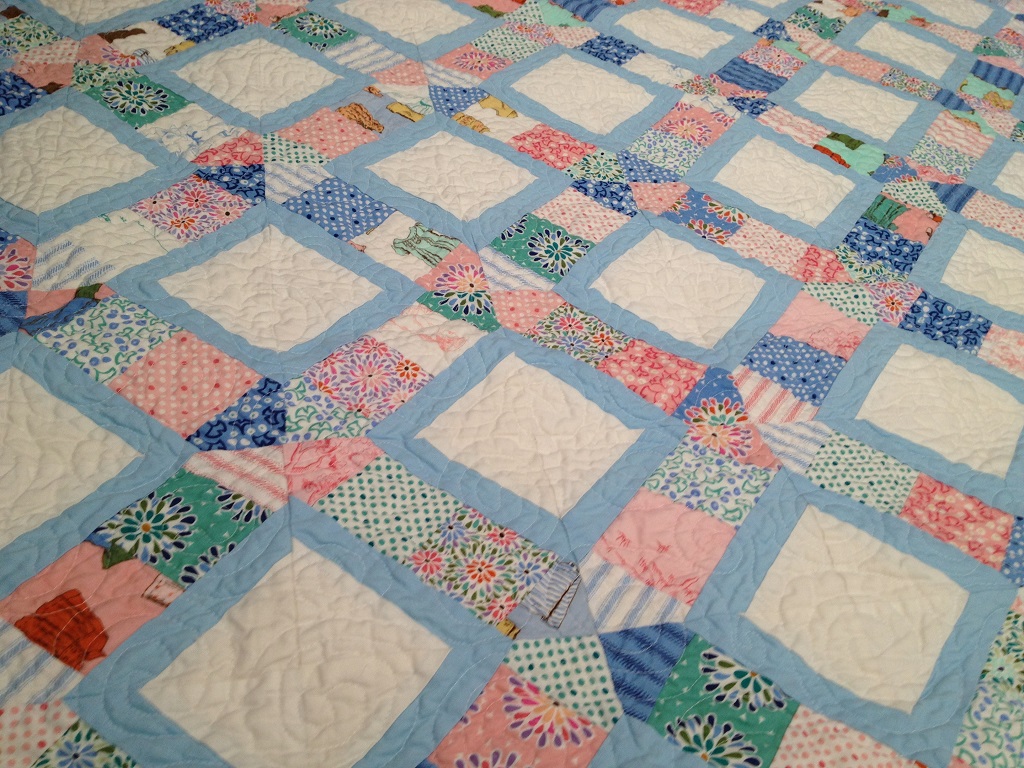
People have been asking me a lot recently about how to make certain quilts. This is a quilt I made a while back. I would love to share with you how to make it.
I decided to name this quilt block “safe and sound” since the smaller scrappy squares are safely gathered in by the blue diamonds. (Am I getting better at naming quilts?)
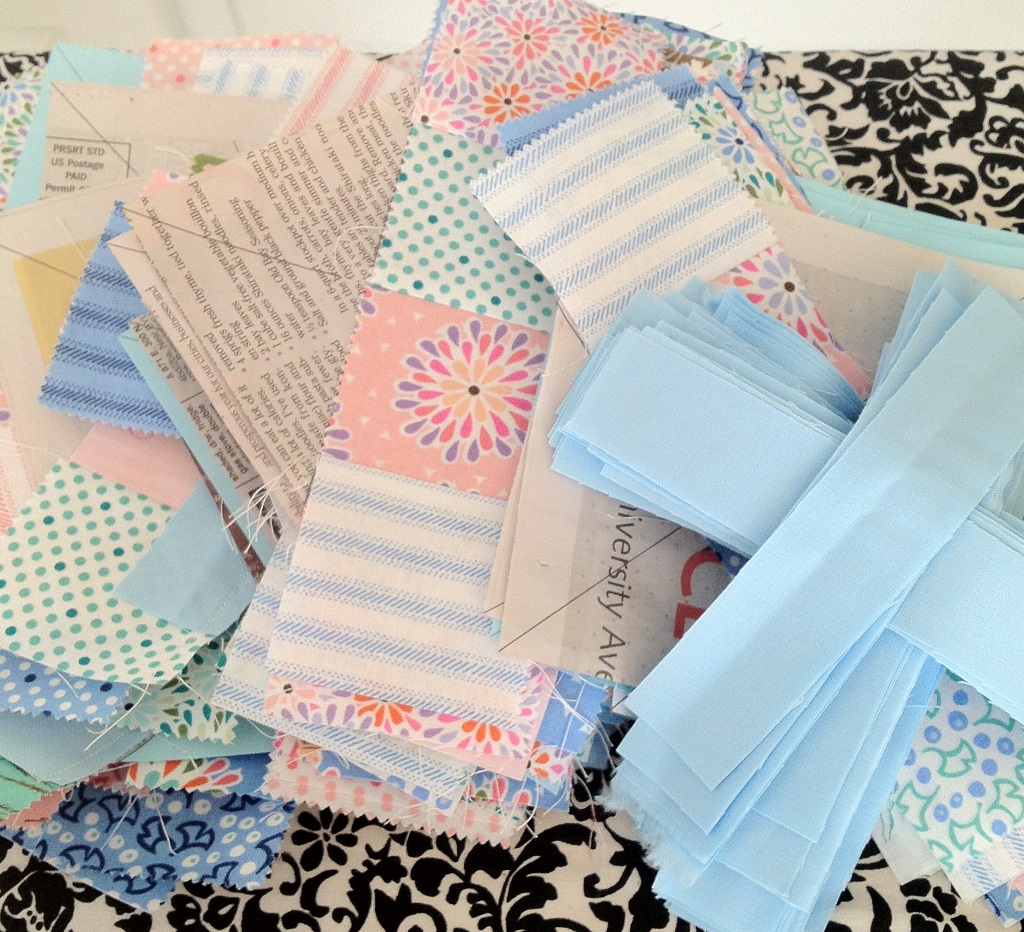
In making this design, I had available a handful of 2.5-inch squares of Cape Ann fabric, and a bunch of paper to draw out my own templates. But, lucky for you guys, I put together a printable template that you can use here.
Fabric cutting for baby quilt (40 inches by 50 inches)
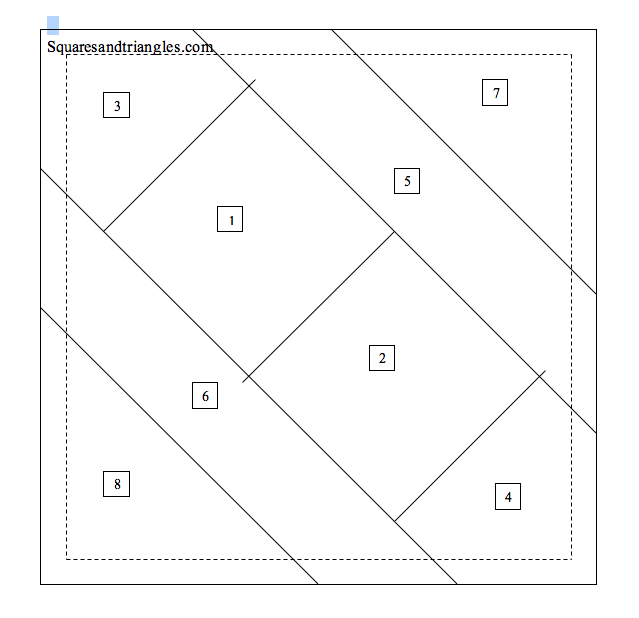
Print off 80 “Safe and Sound” quilt block templates. First, print one template and make sure that the block measures 5.5 inches square.
For positions 1, 2, 3, and 4, you will need:
320–2.5 inch x 2.5-inch squares
For positions 5 and 6, you will need:
160–1.75 inch x 6.5-inch strips (blue) (you could get away with only using 1.5 inches by 6.5 inches, but I like to give myself some wiggle room with paper piecing.)
For positions 7 and 8, you will need:
160–3.25 inch triangles (white). (I would make these triangles in this way: First, I would starch my fabric. Since I will be cutting and sewing on the biased edge of the triangle, having the starch there helps to keep it from stretching. Then, I would cut 3.25-inch squares from the starched fabric. I would cut those squares from one corner to its opposite corner, making two 3.25 inch triangles.)
Fabric cutting for baby quilt (40 inches by 50 inches)
Print off 80 “Safe and Sound” quilt block templates. First, print one template and make sure that the block measures 5.5 inches square.
For positions 1, 2, 3, and 4, you will need:
320–2.5 inch x 2.5-inch squares
For positions 5 and 6, you will need:
160–1.75 inch x 6.5-inch strips (blue) (you could get away with only using 1.5 inches by 6.5 inches, but I like to give myself some wiggle room with paper piecing.)
For positions 7 and 8, you will need:
160–3.25 inch triangles (white). (I would make these triangles in this way: First, I would starch my fabric. Since I will be cutting and sewing on the biased edge of the triangle, having the starch there helps to keep it from stretching. Then, I would cut 3.25-inch squares from the starched fabric. I would cut those squares from one corner to its opposite corner, making two 3.25 inch triangles.)
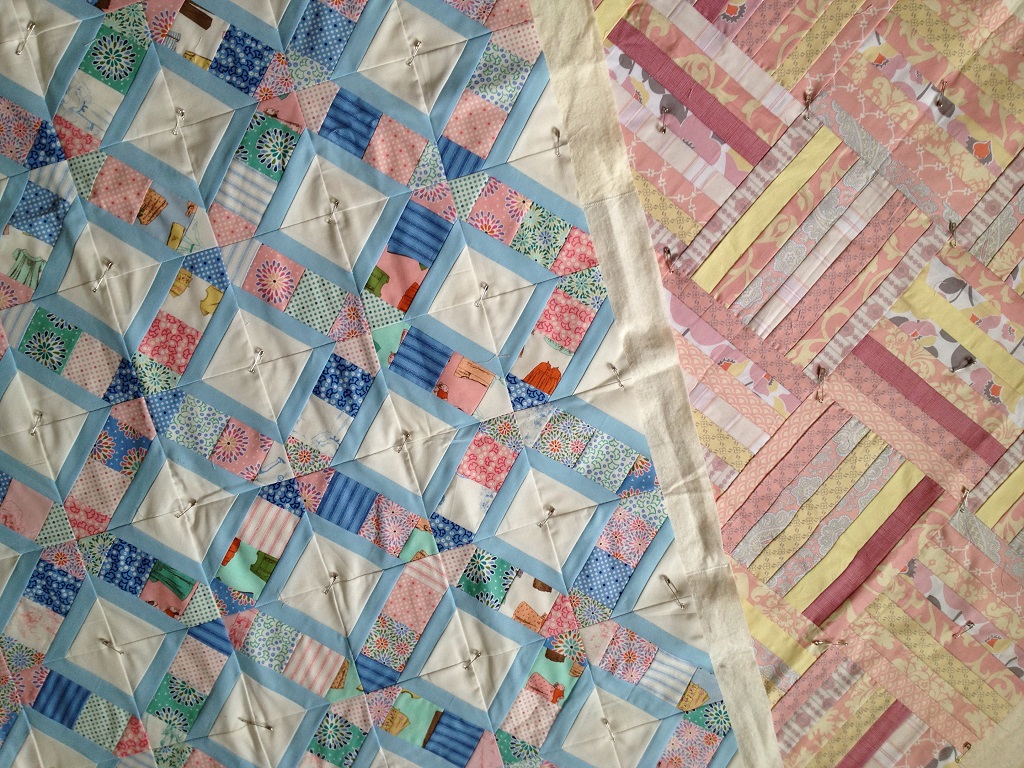
At this point, some people remove the paper from their blocks, but I don’t. I first assemble the blocks together with 10 rows, 8 blocks in a row (remember to use a 1.5 stitch length). Then, I remove the paper, press my seams, and sew the 10 rows together, making the resulting 40 x 50-inch quilt top.
I hope you enjoyed using this tutorial. As a favor to me, if you use this tutorial, will you please credit this blog post when you show or use social media to display your quilts? That will allow others to be able to find and use this free tutorial as well.
Thank you for visiting!
Leave a comment
You must be logged in to post a comment.